How to change the camera editing
Caution
This feature is for project administrators.
You can access this from the project home screen by clicking the gear icon in the upper right corner.

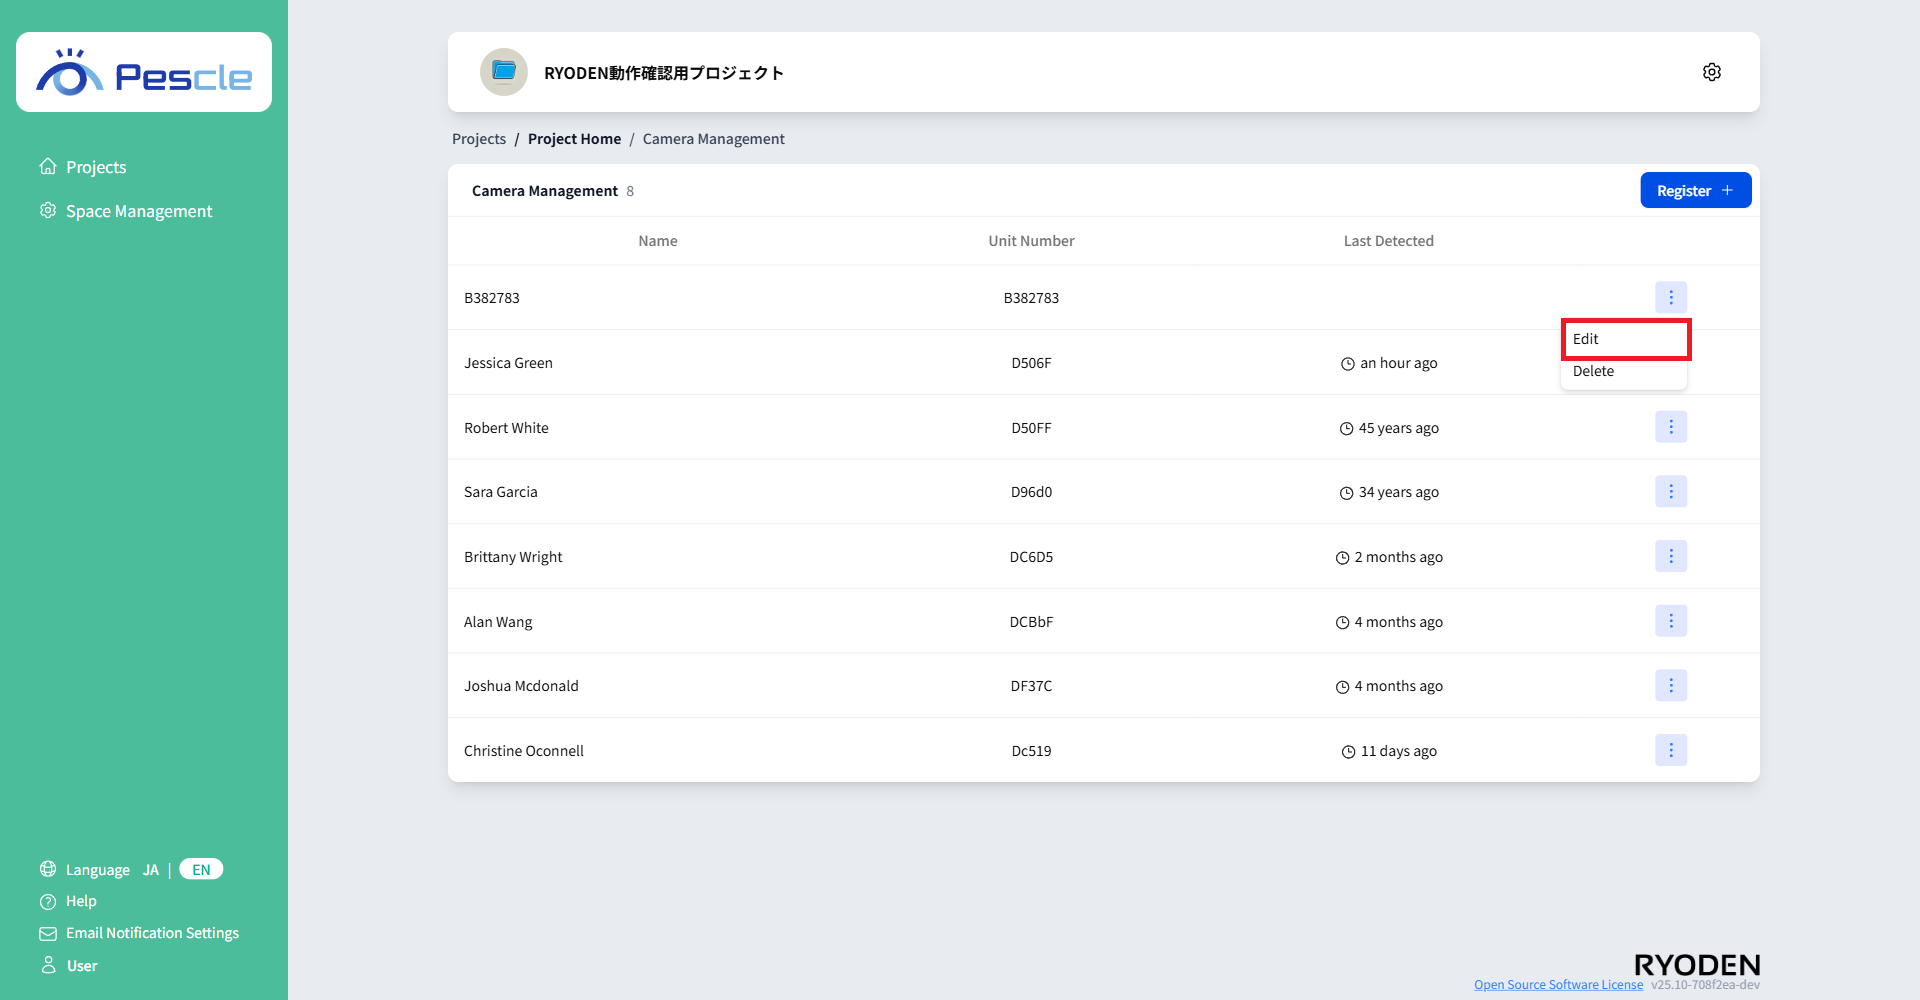
When the camera management screen appears, click the vertical ellipsis to the right of the camera you want to manage.
When the submenu appears,click “Edit”.
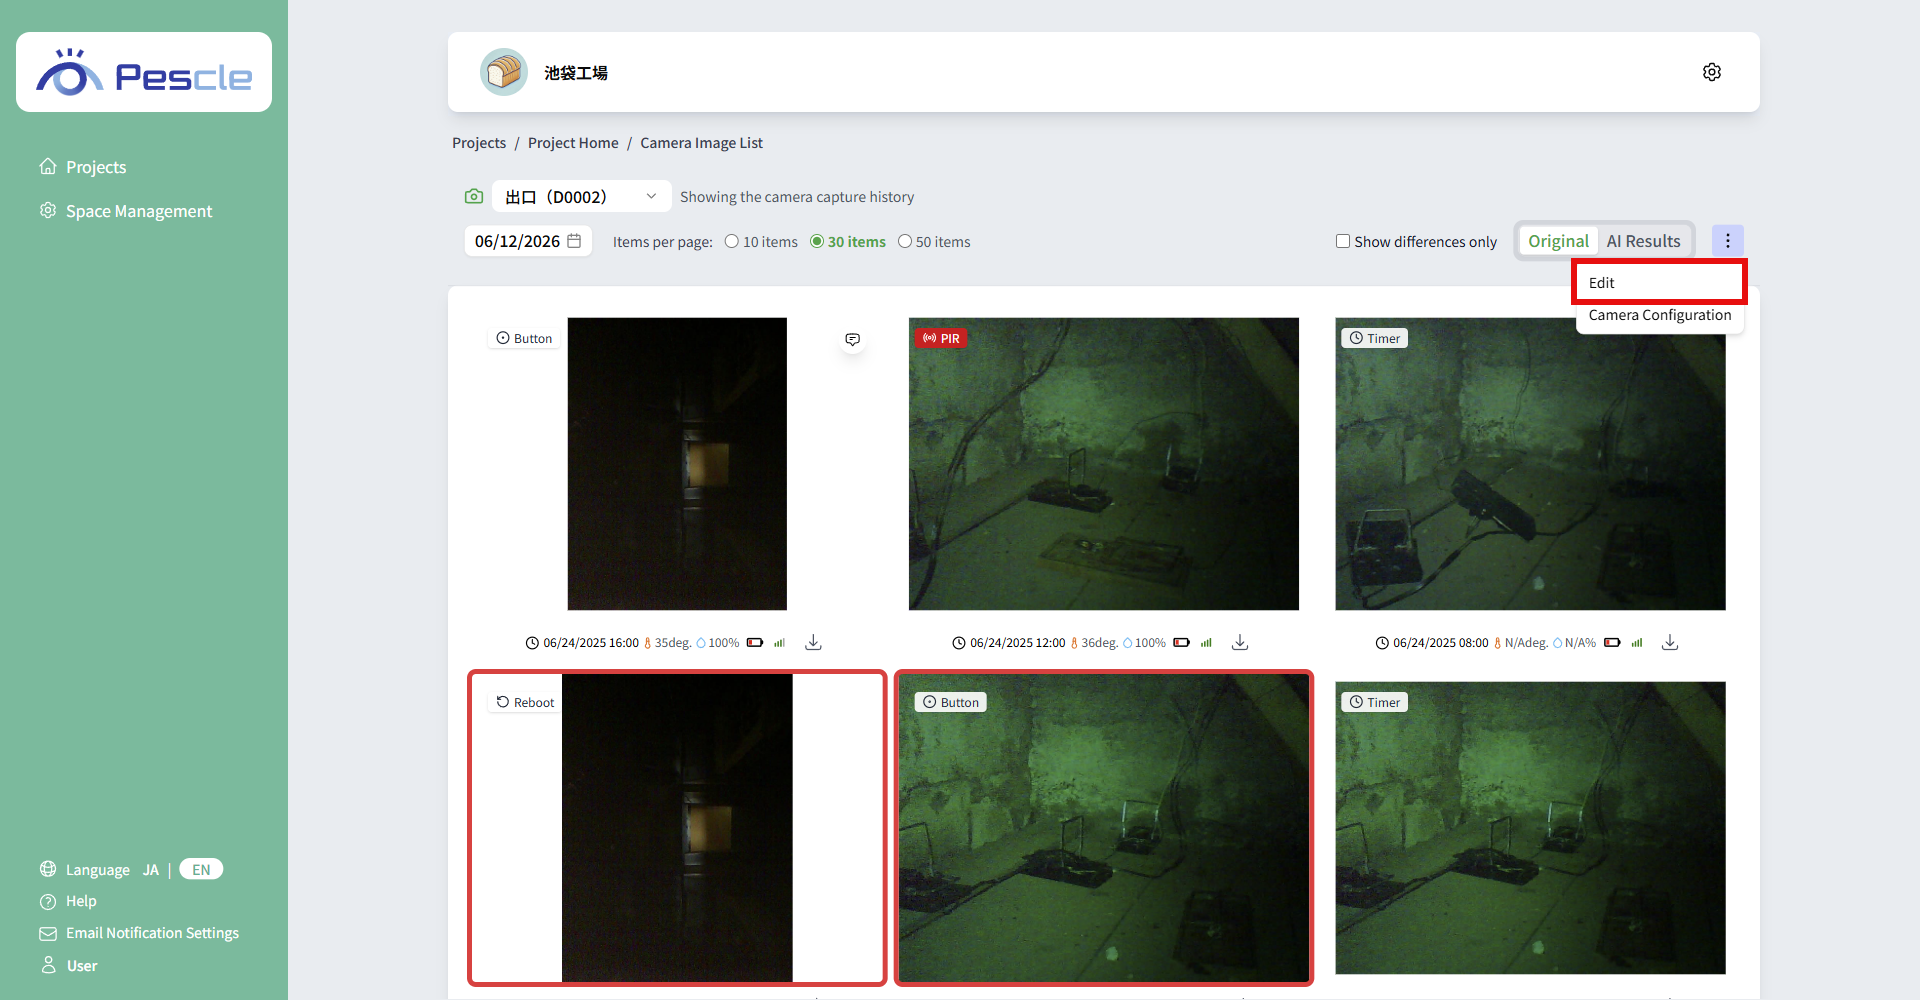
You can also open it from the vertical ellipsis in the top right corner of the camera image list page.
Display information
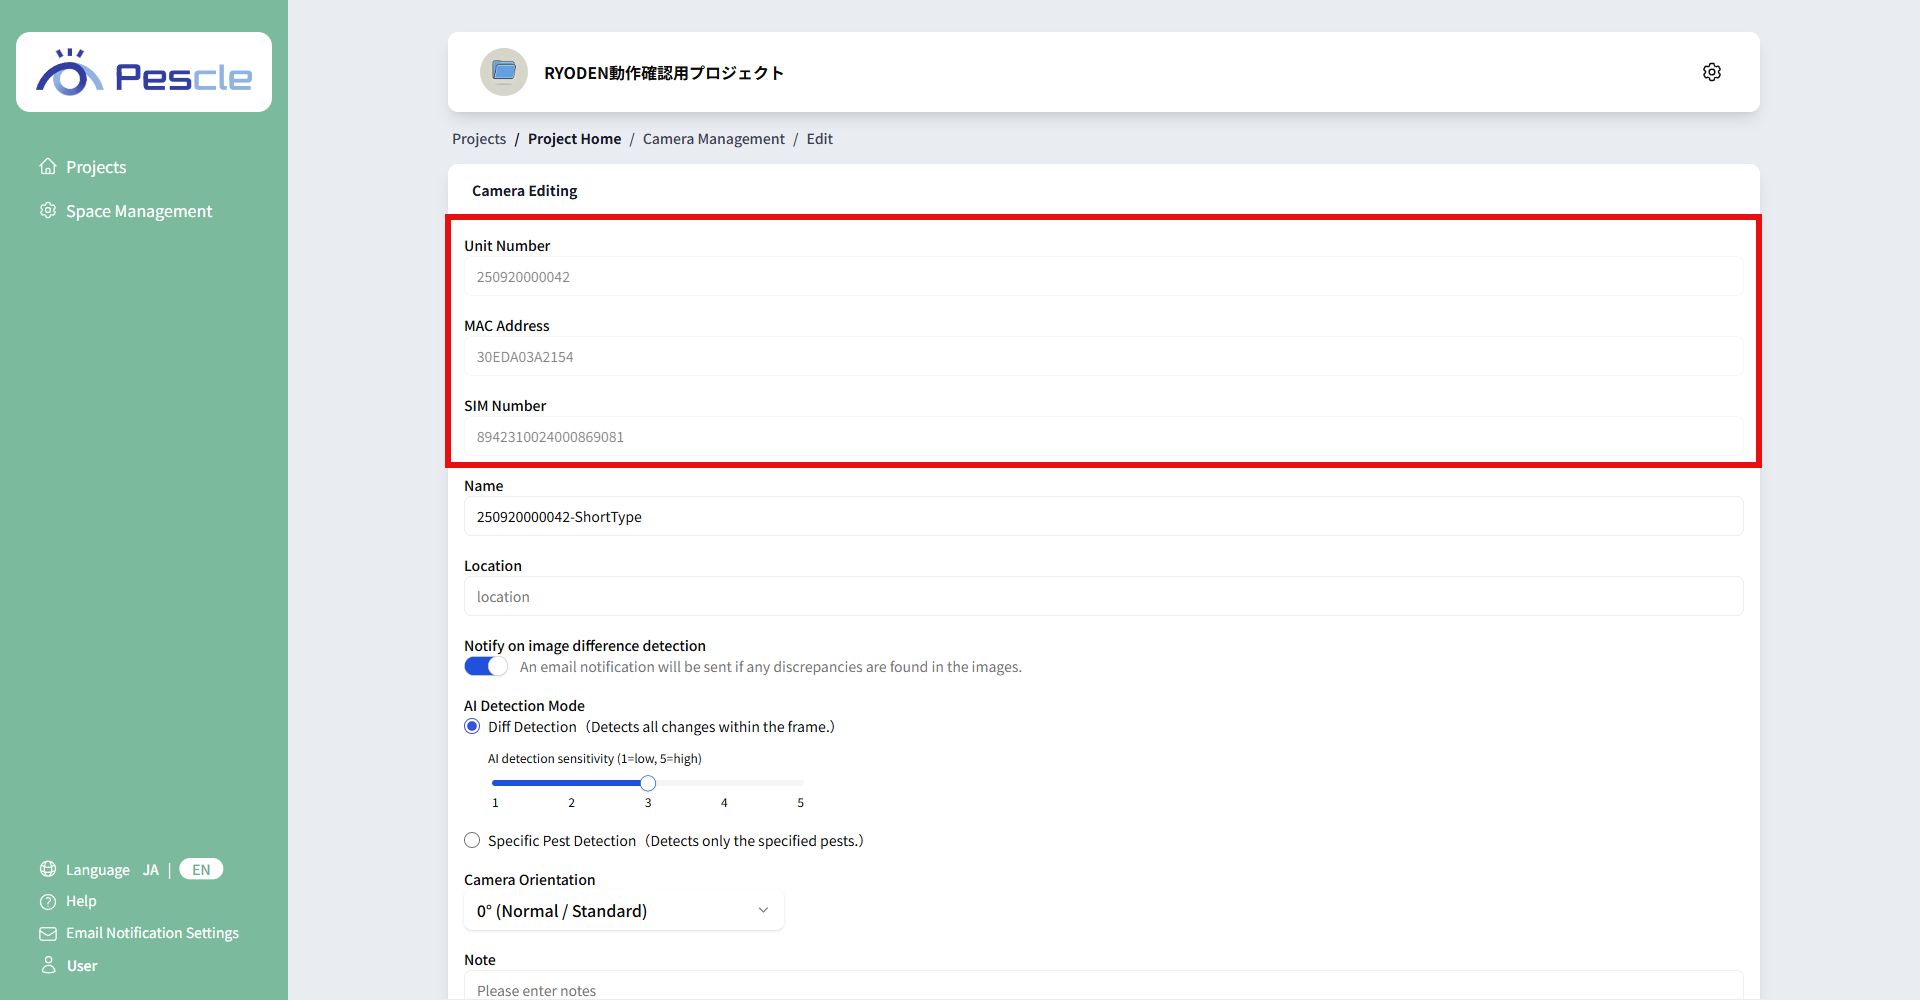
The following information is displayed at the top of the camera editing screen.
Unit number: The camera’s identification number.
MAC address: The camera’s network identifier.
SIM number: The SIM number of the SIM inserted in the camera.
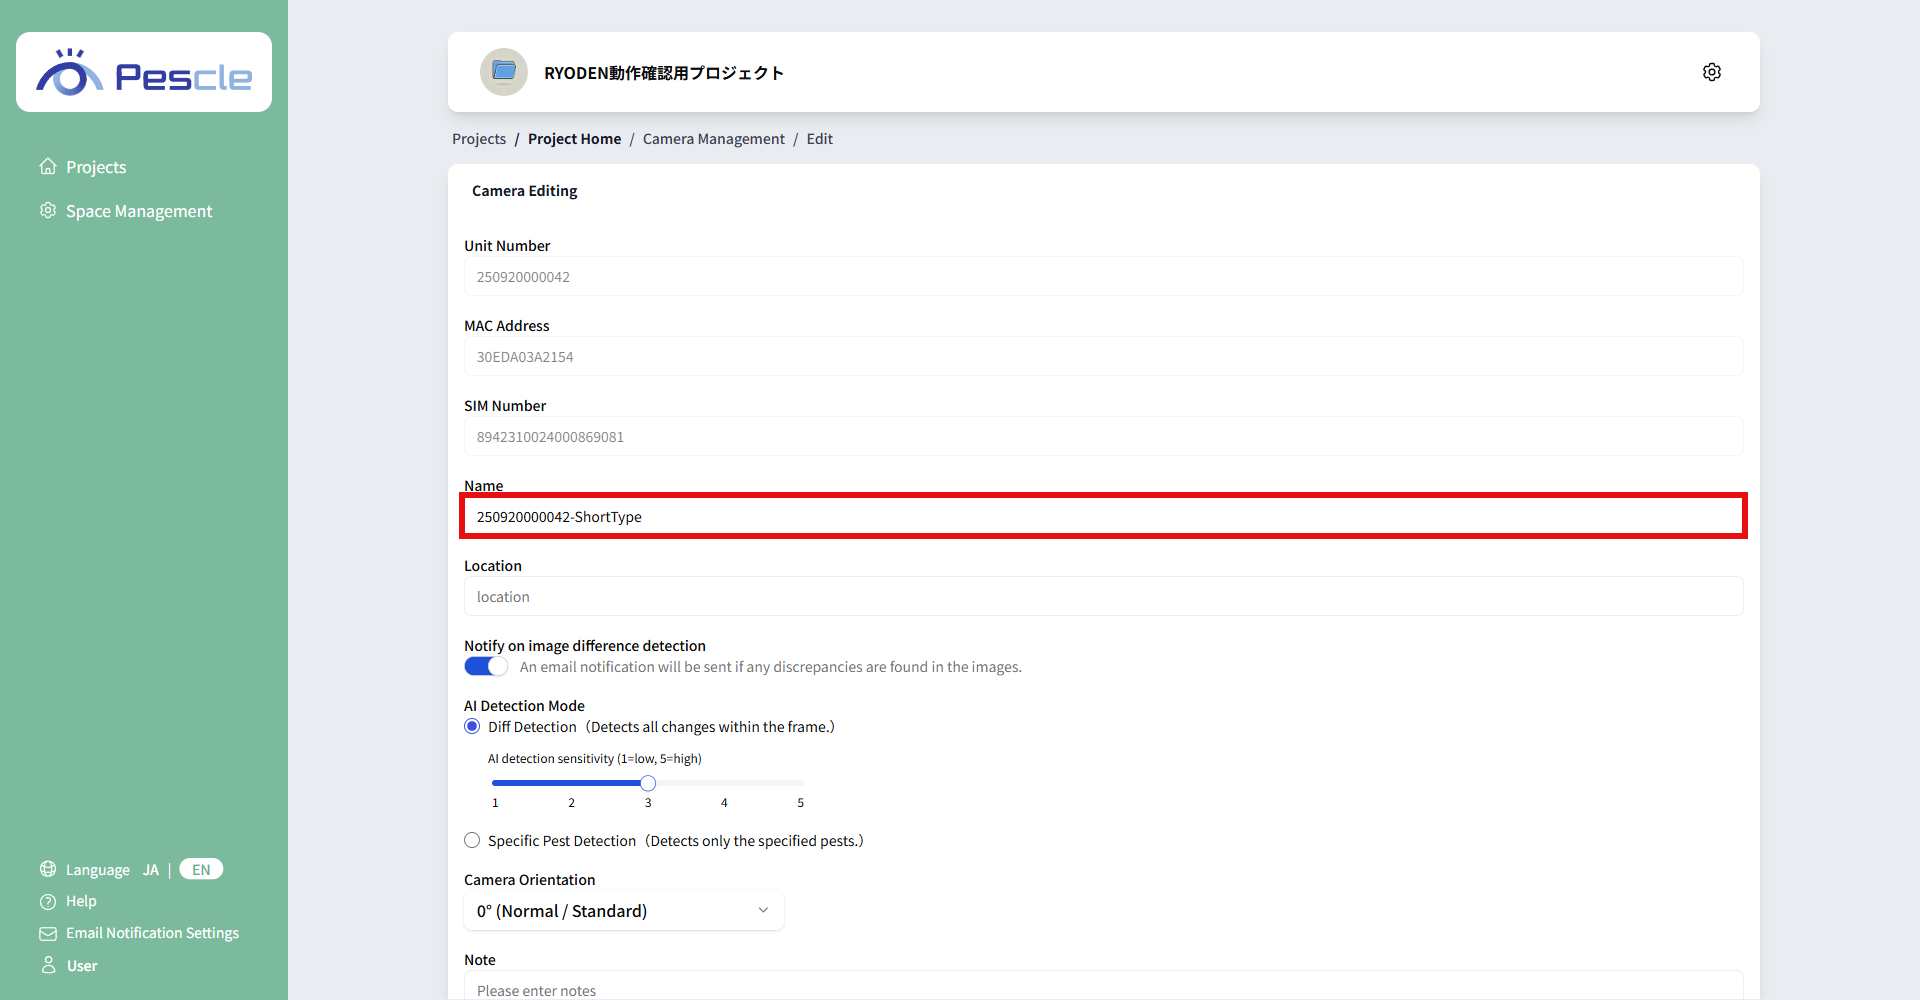
Change Name
Enter the name of the camera you installed.
Once you have completed the entry, click the “Update” button.
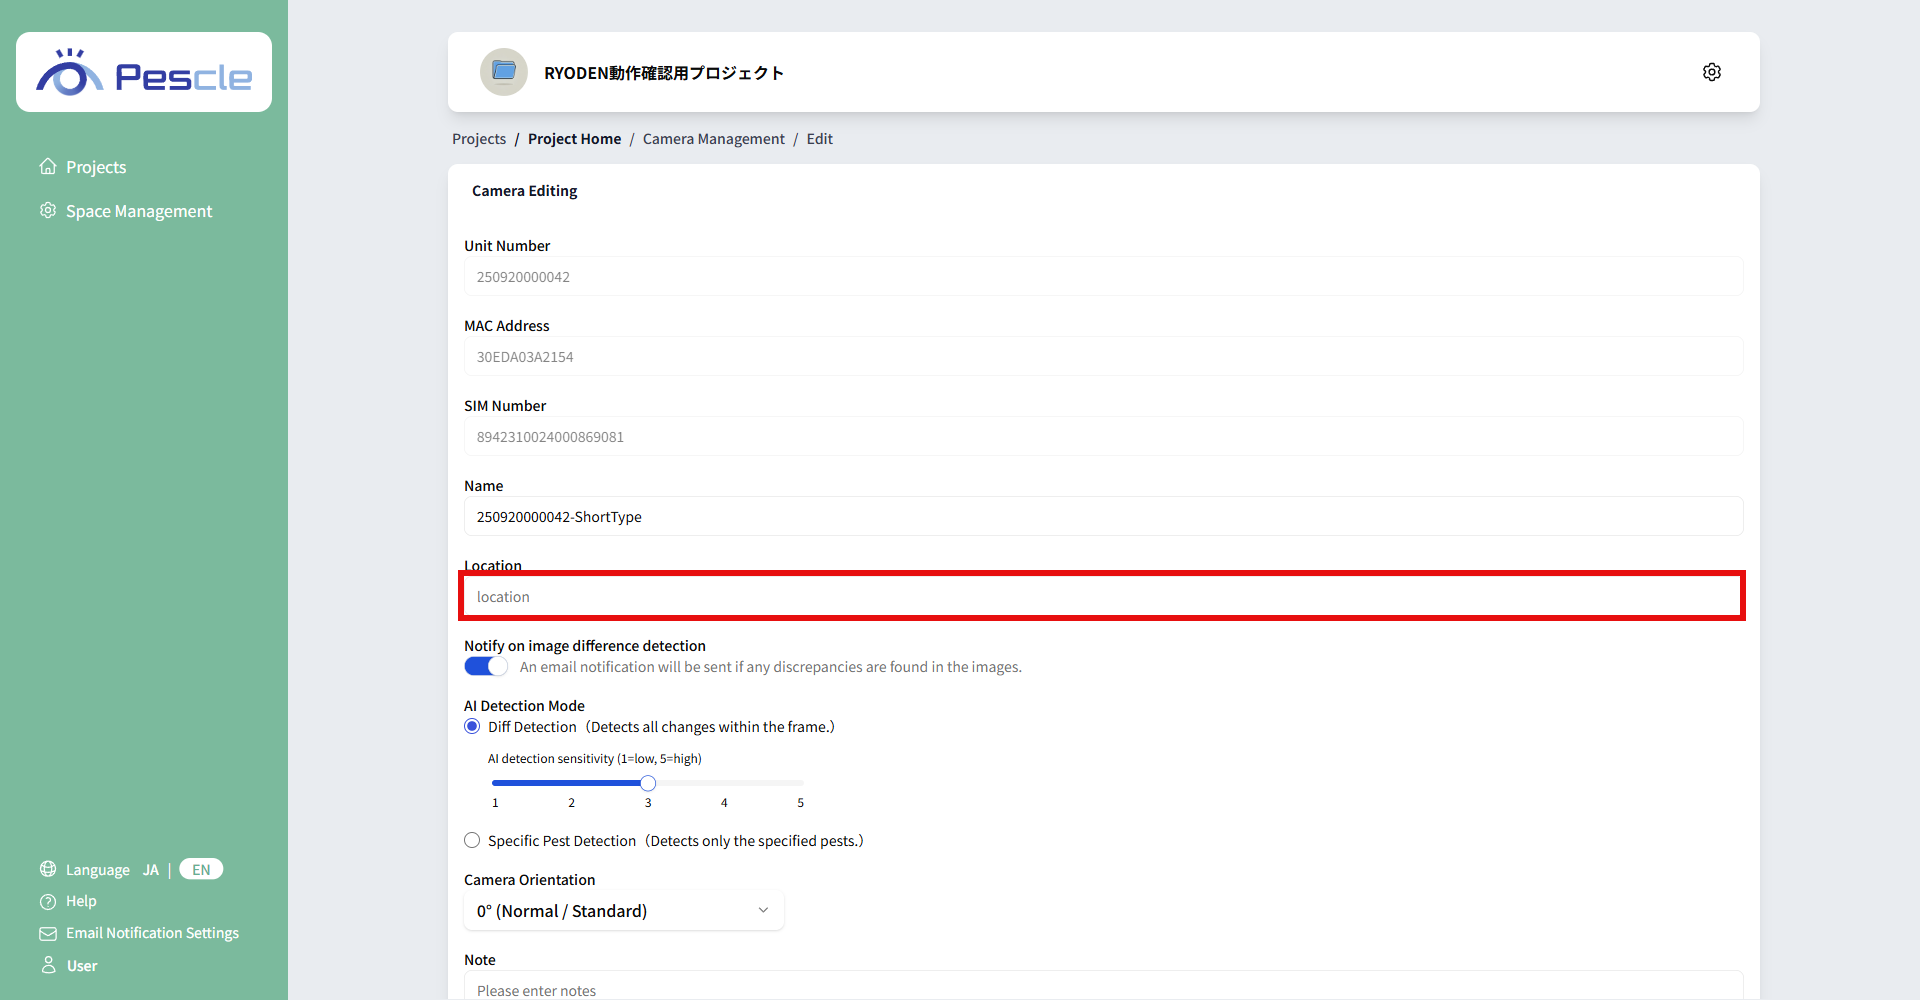
Change the installation location
Location can be set.
Once you have completed the entry, click the “Update” button.
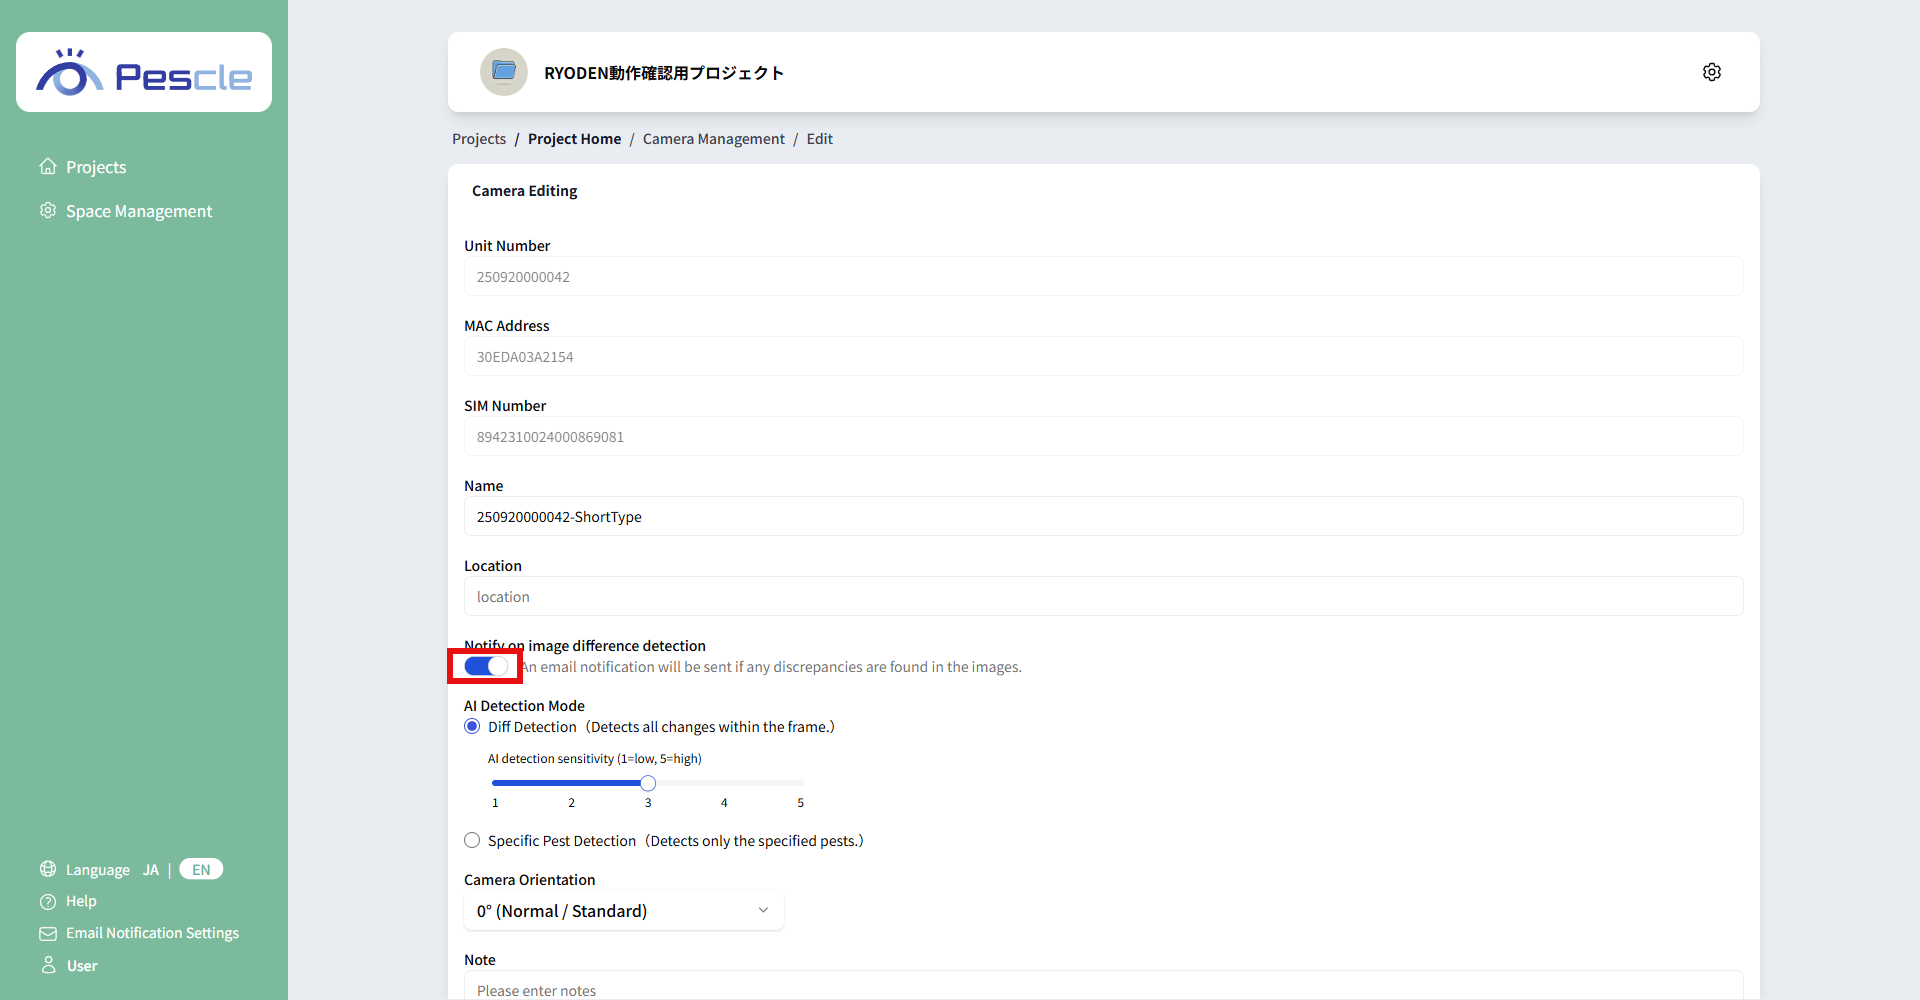
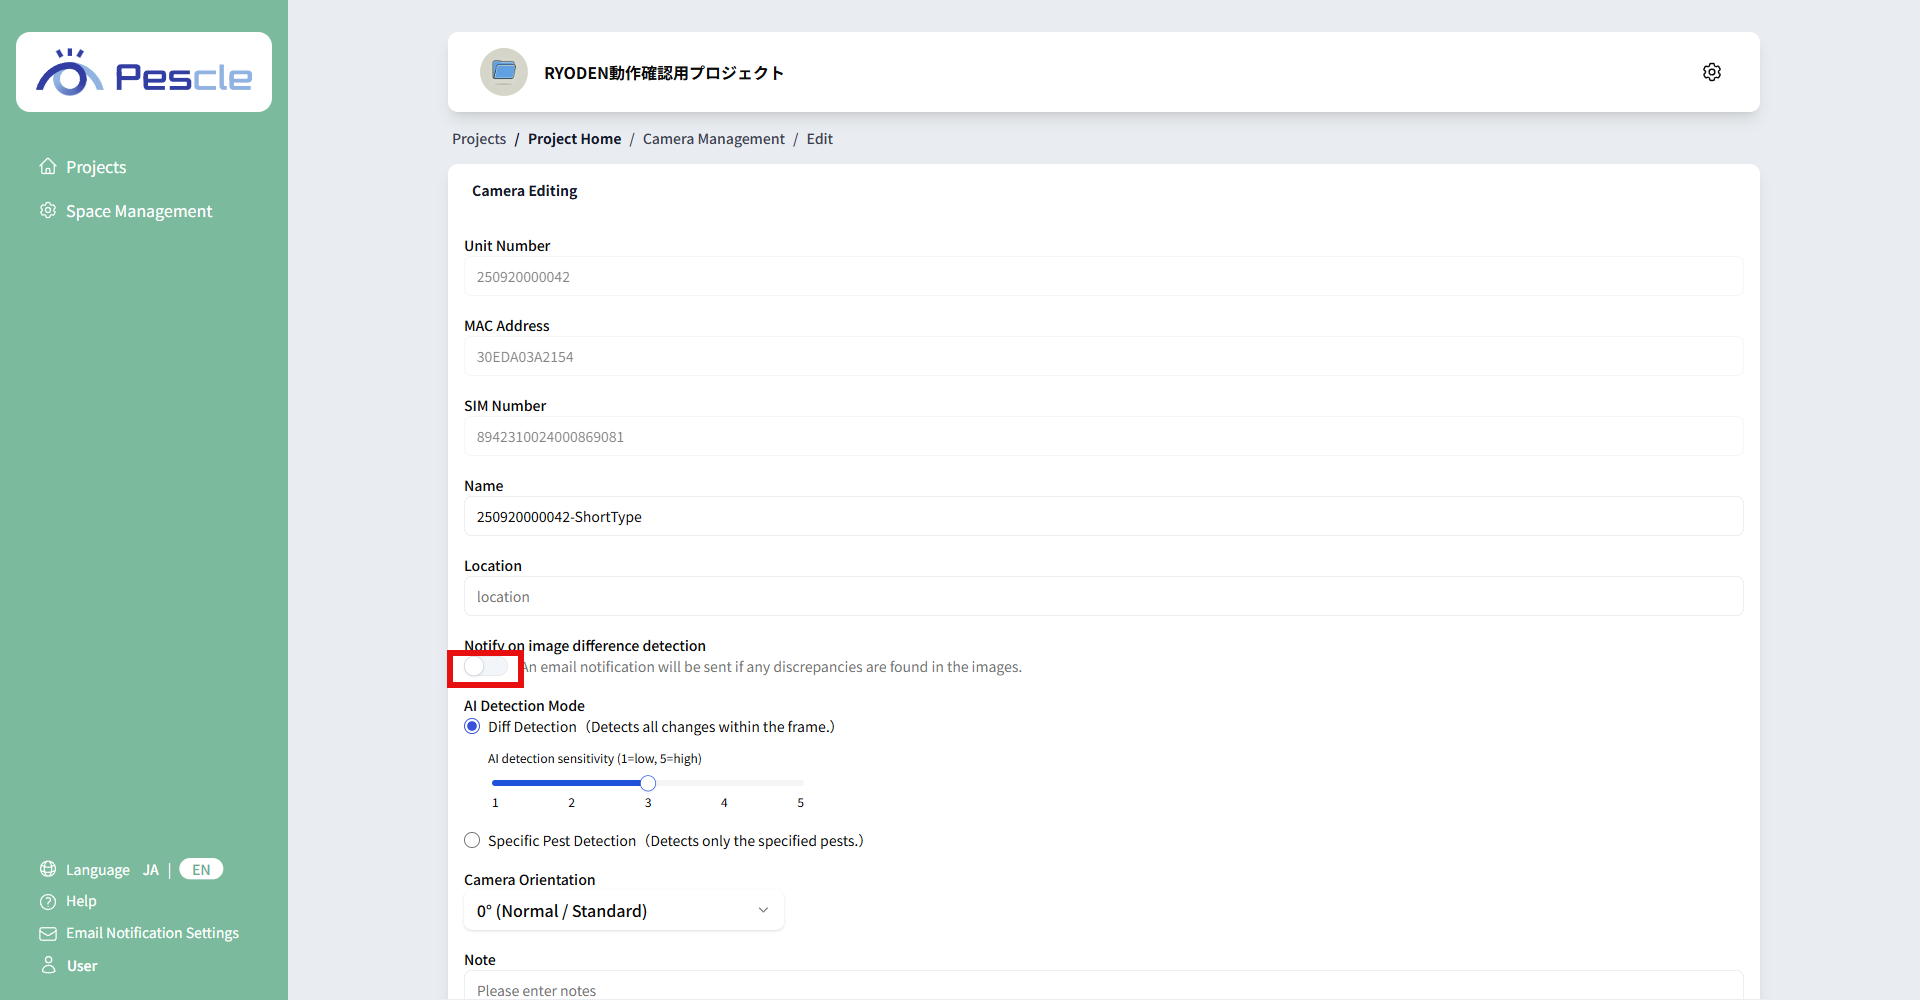
Change email notification settings
This setting notifies you by email when a difference or pest is detected.
There are two types of email notifications.
Email notification enabled
To enable email notifications, turn the toggle switch ON.
Email notification disabled
To disable email notifications, turn the toggle switch OFF.
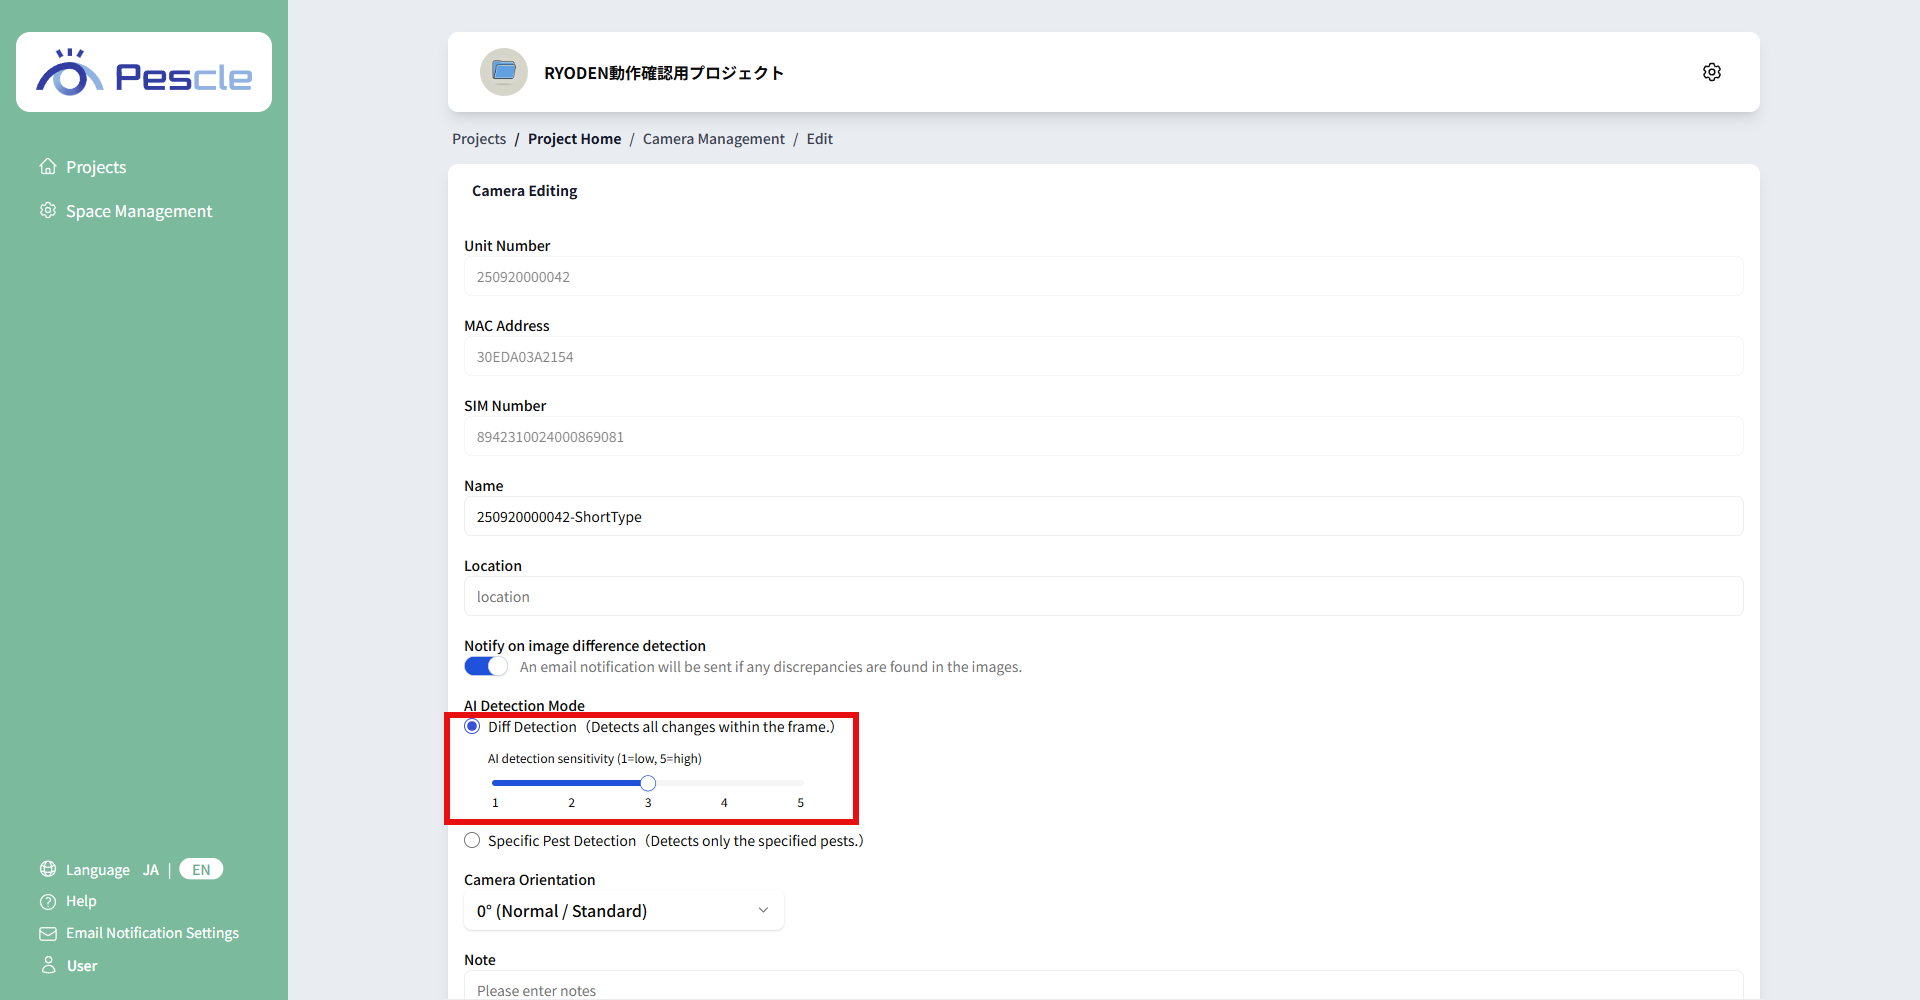
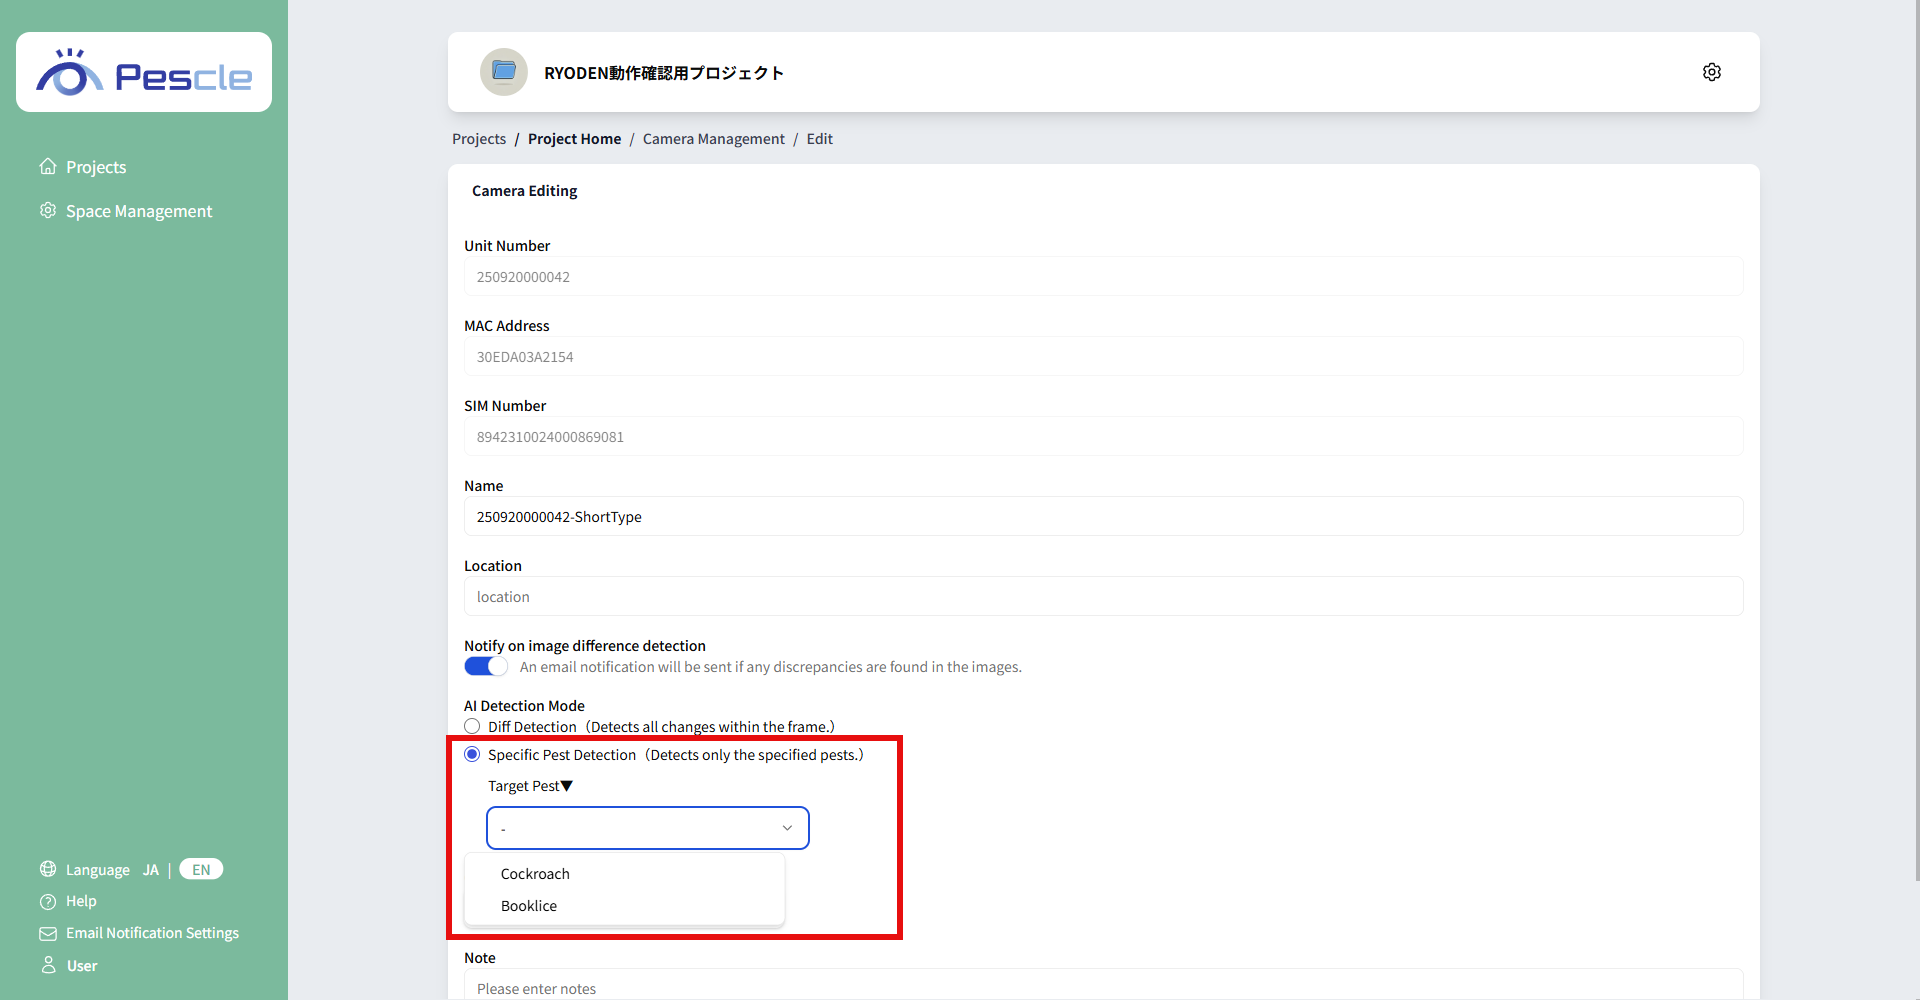
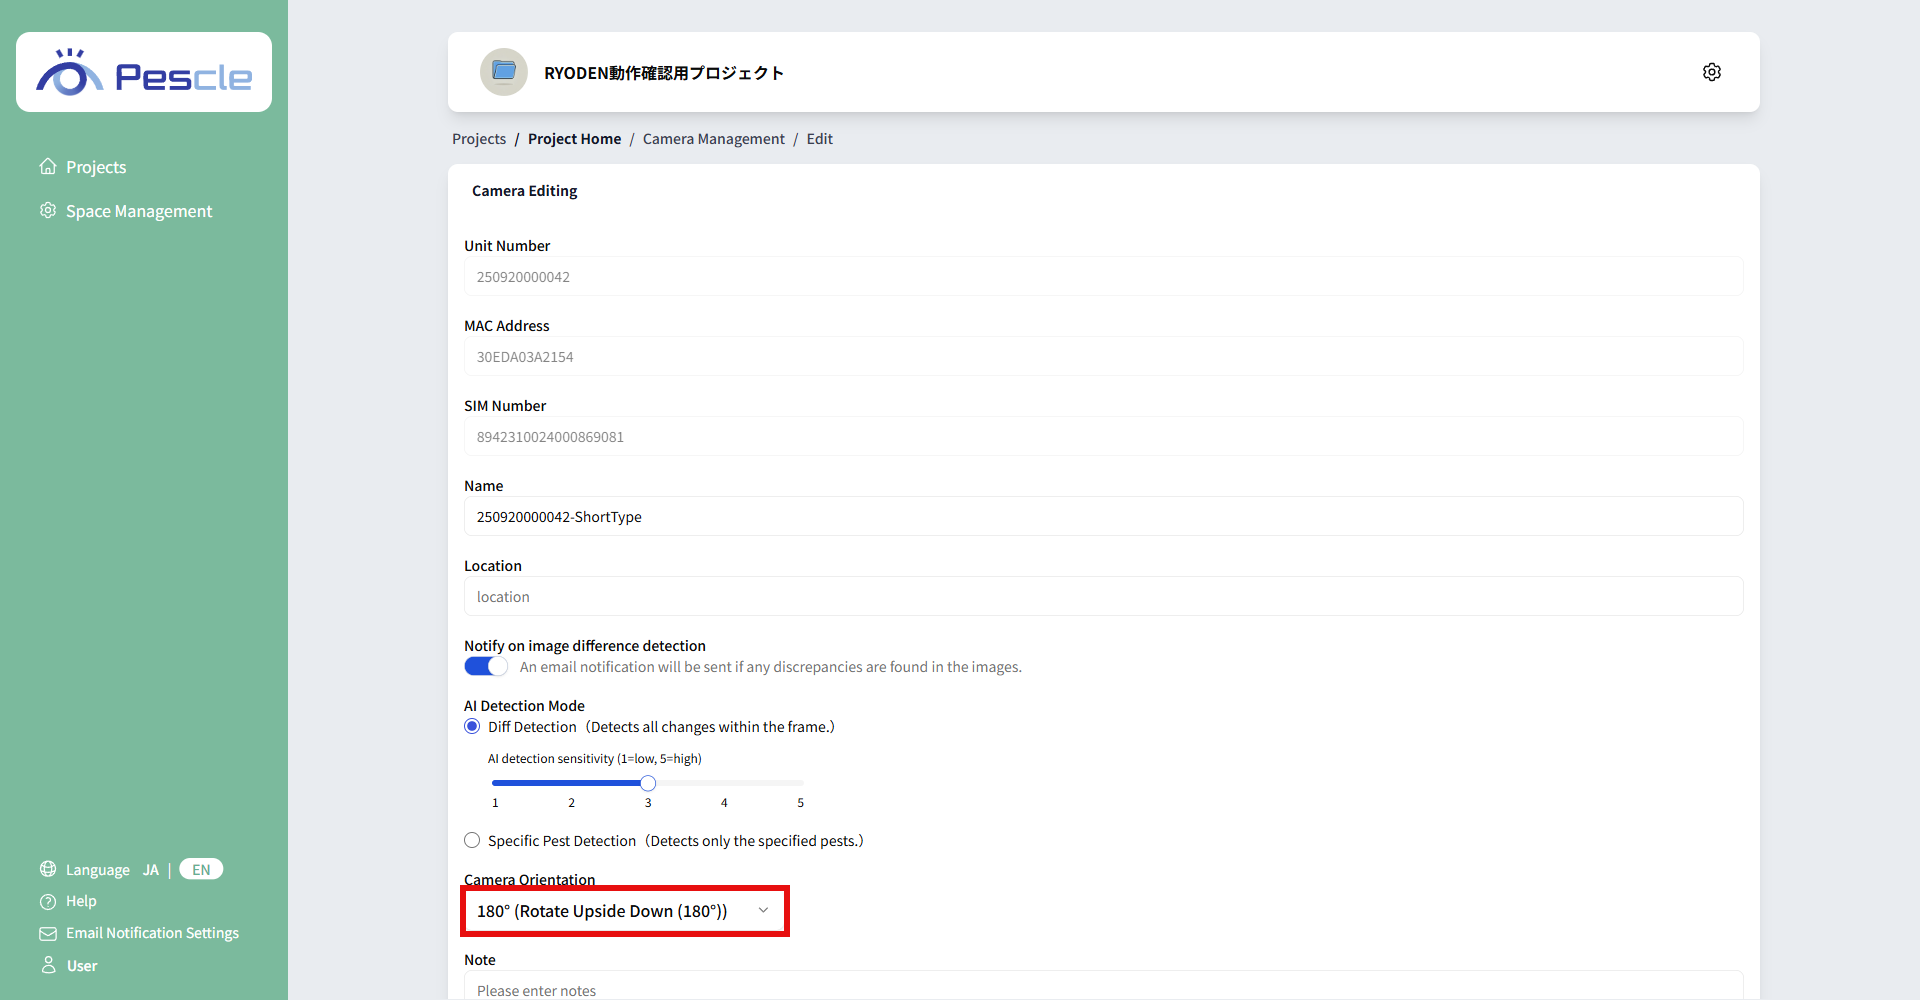
Change the AI detection mode
In AI detection mode, you can select one of two detection methods: “Diff Detection” or “Specific Pest Detection”.
Diff Detection
“Diff Detection” detects all changes within the frame.
When you select Diff Detection, you can set the AI detection sensitivity to five levels (1 = low, 5 = high).
Once you have completed the entry, click the “Update” button.
Specific Pest Detection
“Specific Pest Detection” detects only the specified pests.
When you select Specific Pest Detection, you can choose the target pest from “Cockroach” or “Booklice”.
Once you have completed the entry, click the “Update” button.
Change camera orientation
There are four types of camera orientation.
0° (Normal/Standard)
Set this if you want to use the image captured by the camera as is.

90° (Rotate Right(90° clockwise))
Set this to use an image taken by the camera rotated 90 degrees to the right.

180° (Rotate Upside Down(180°))
Set this to use an image taken by the camera rotated 180 degrees to the right.
270° (Rotate Left(90° counter-clockwise))
Set this to use an image taken by the camera rotated 270 degrees to the right.

Change Note
Note can be set.
Once you have completed the entry, click the “Update” button.

