How to View Camera Image Details
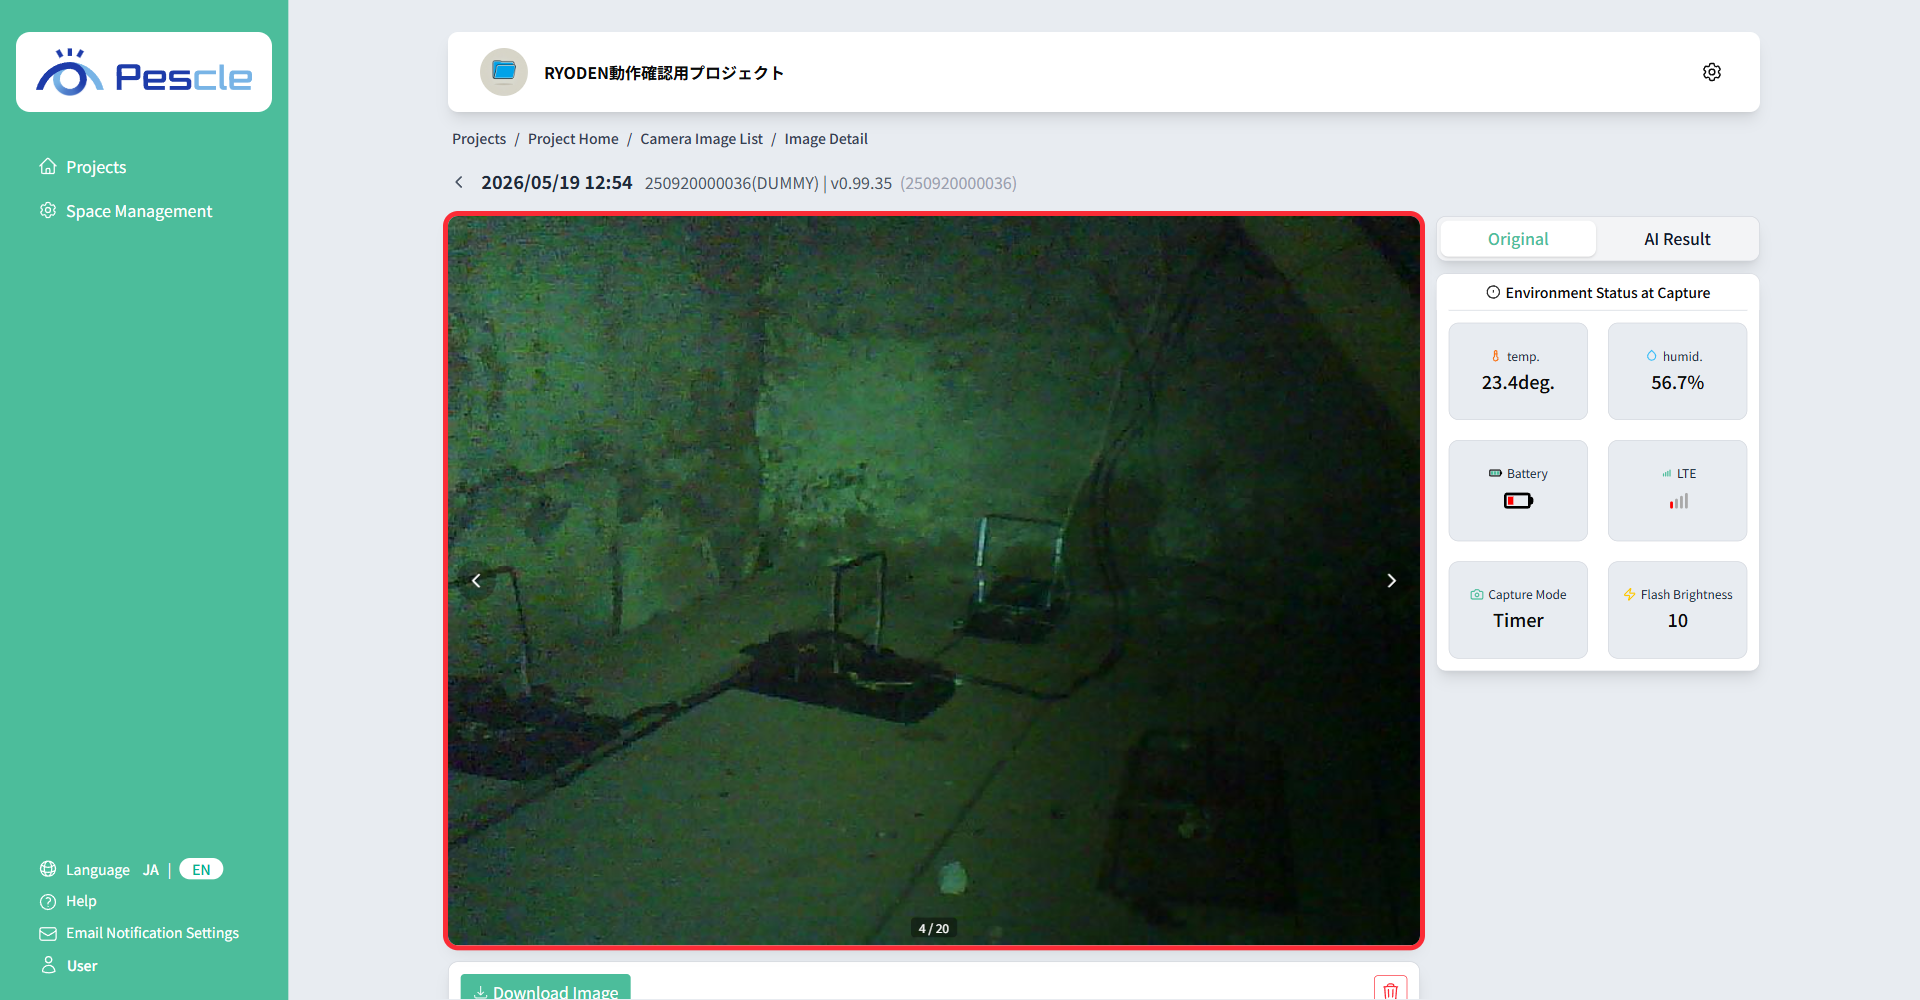
Clicking on an image displayed in the camera image list will open the camera image detail page.
When an image difference is detected, a red frame will be displayed, and if alert email reception is enabled, an email will be sent.
Switching Between Images
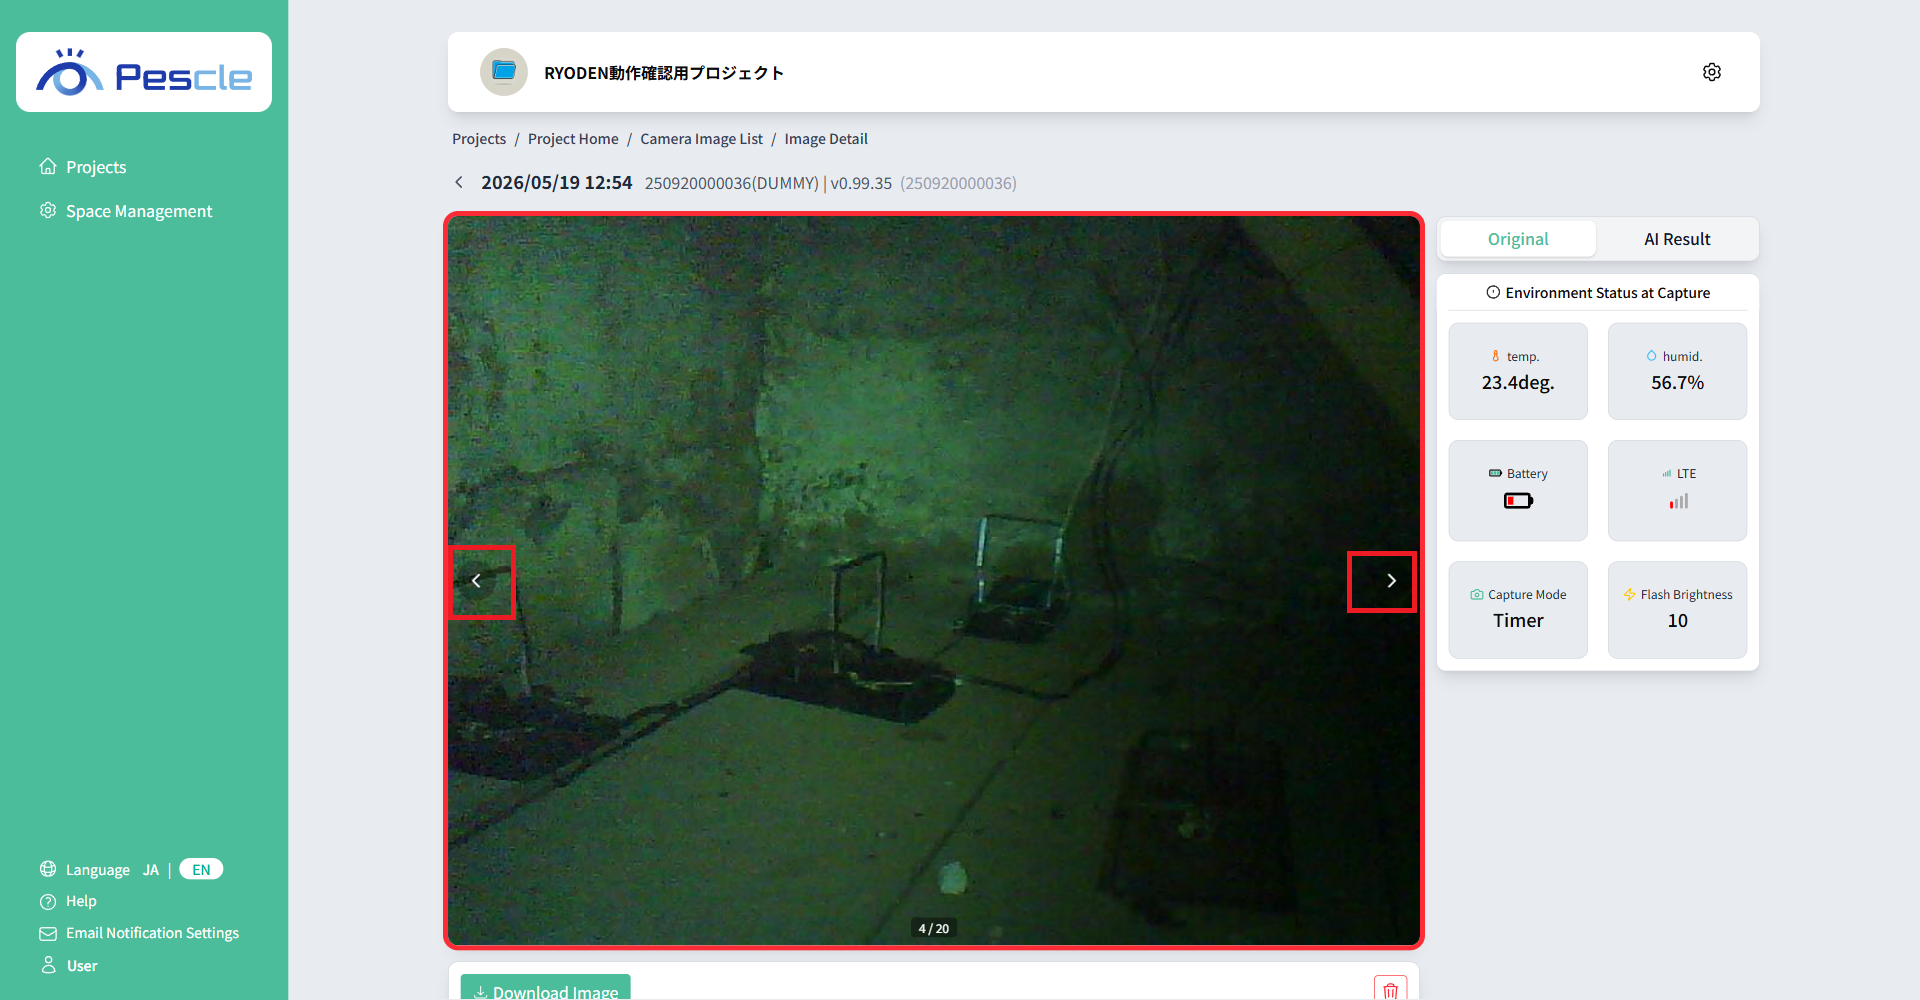
Clicking the arrow buttons displayed on the left and right of the image allows you to switch to the previous or next image.
Tip
On smartphones and tablets, you can switch to the previous or next image by swiping left or right on the image.
Zooming In and Out on Images
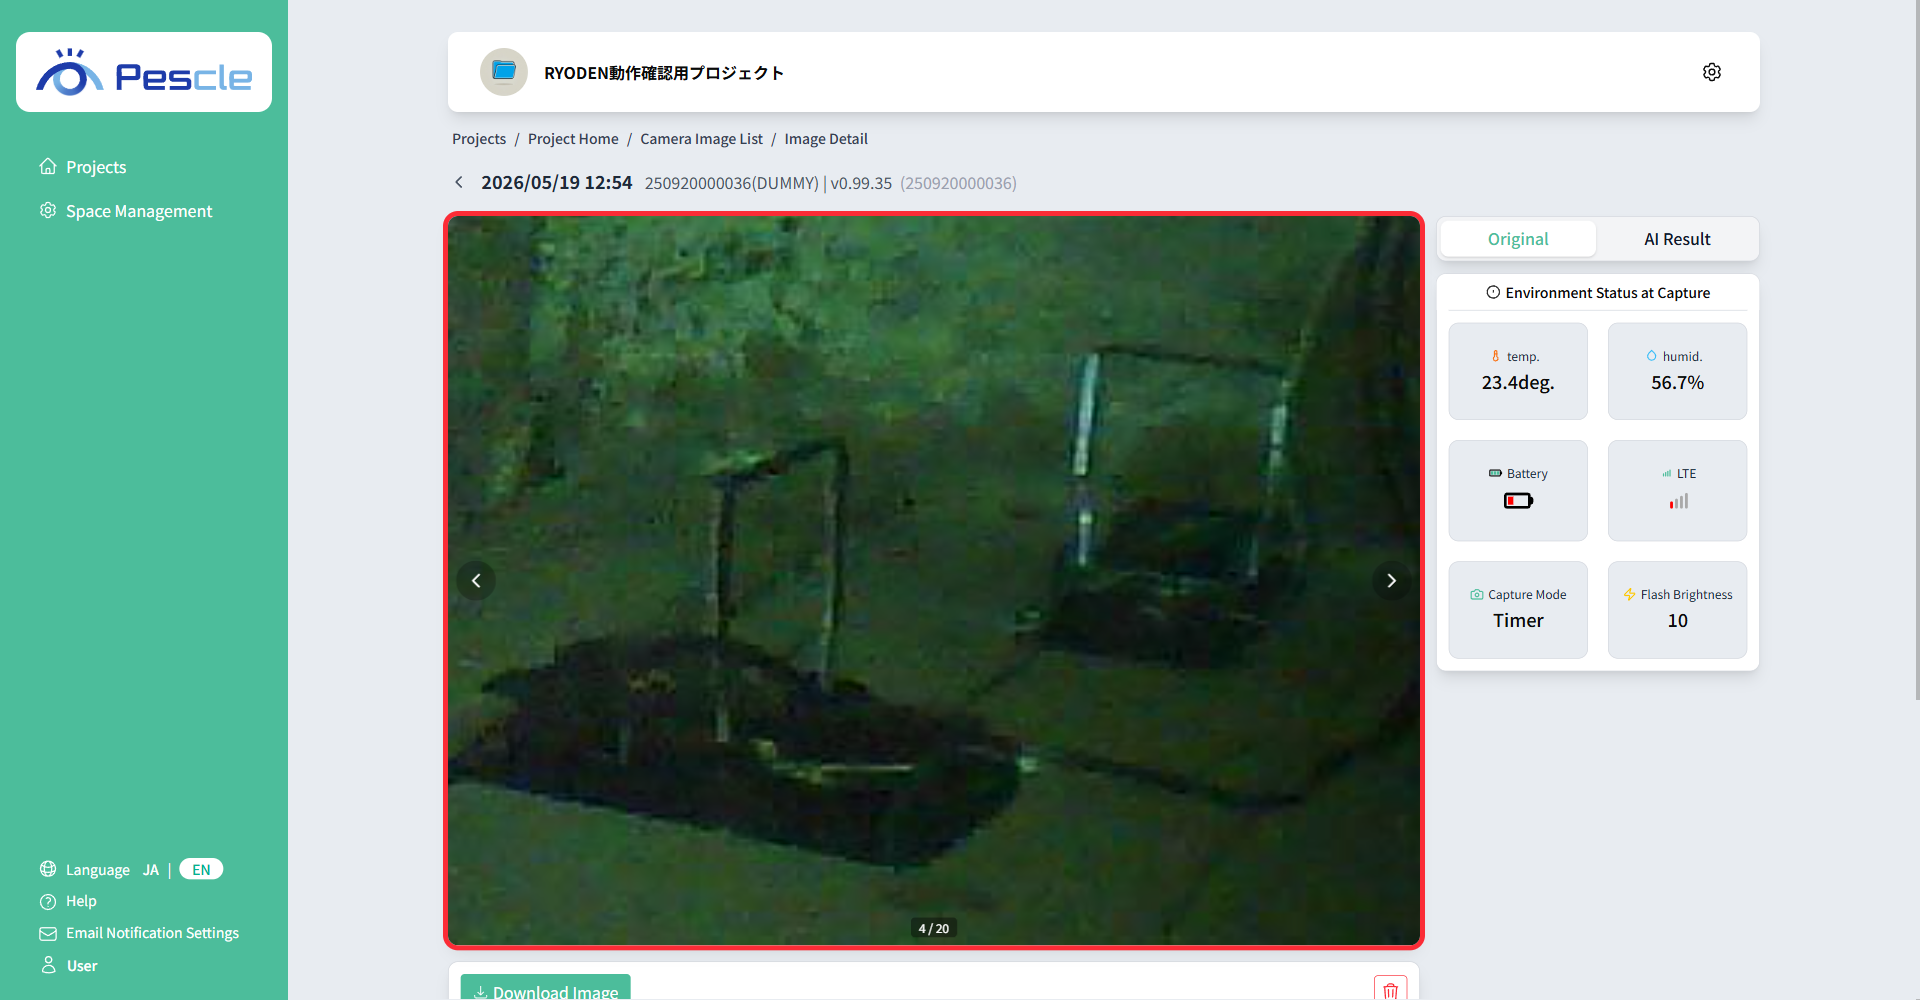
You can zoom in and out on images by pinching in or out (smartphones and tablets) or using the mouse wheel (PC). You can zoom in up to 4x.
Tip
Switching between images by swiping is disabled while zoomed in. Use the arrow buttons or zoom out before swiping to switch images.
Switching Between Original Image and AI Result
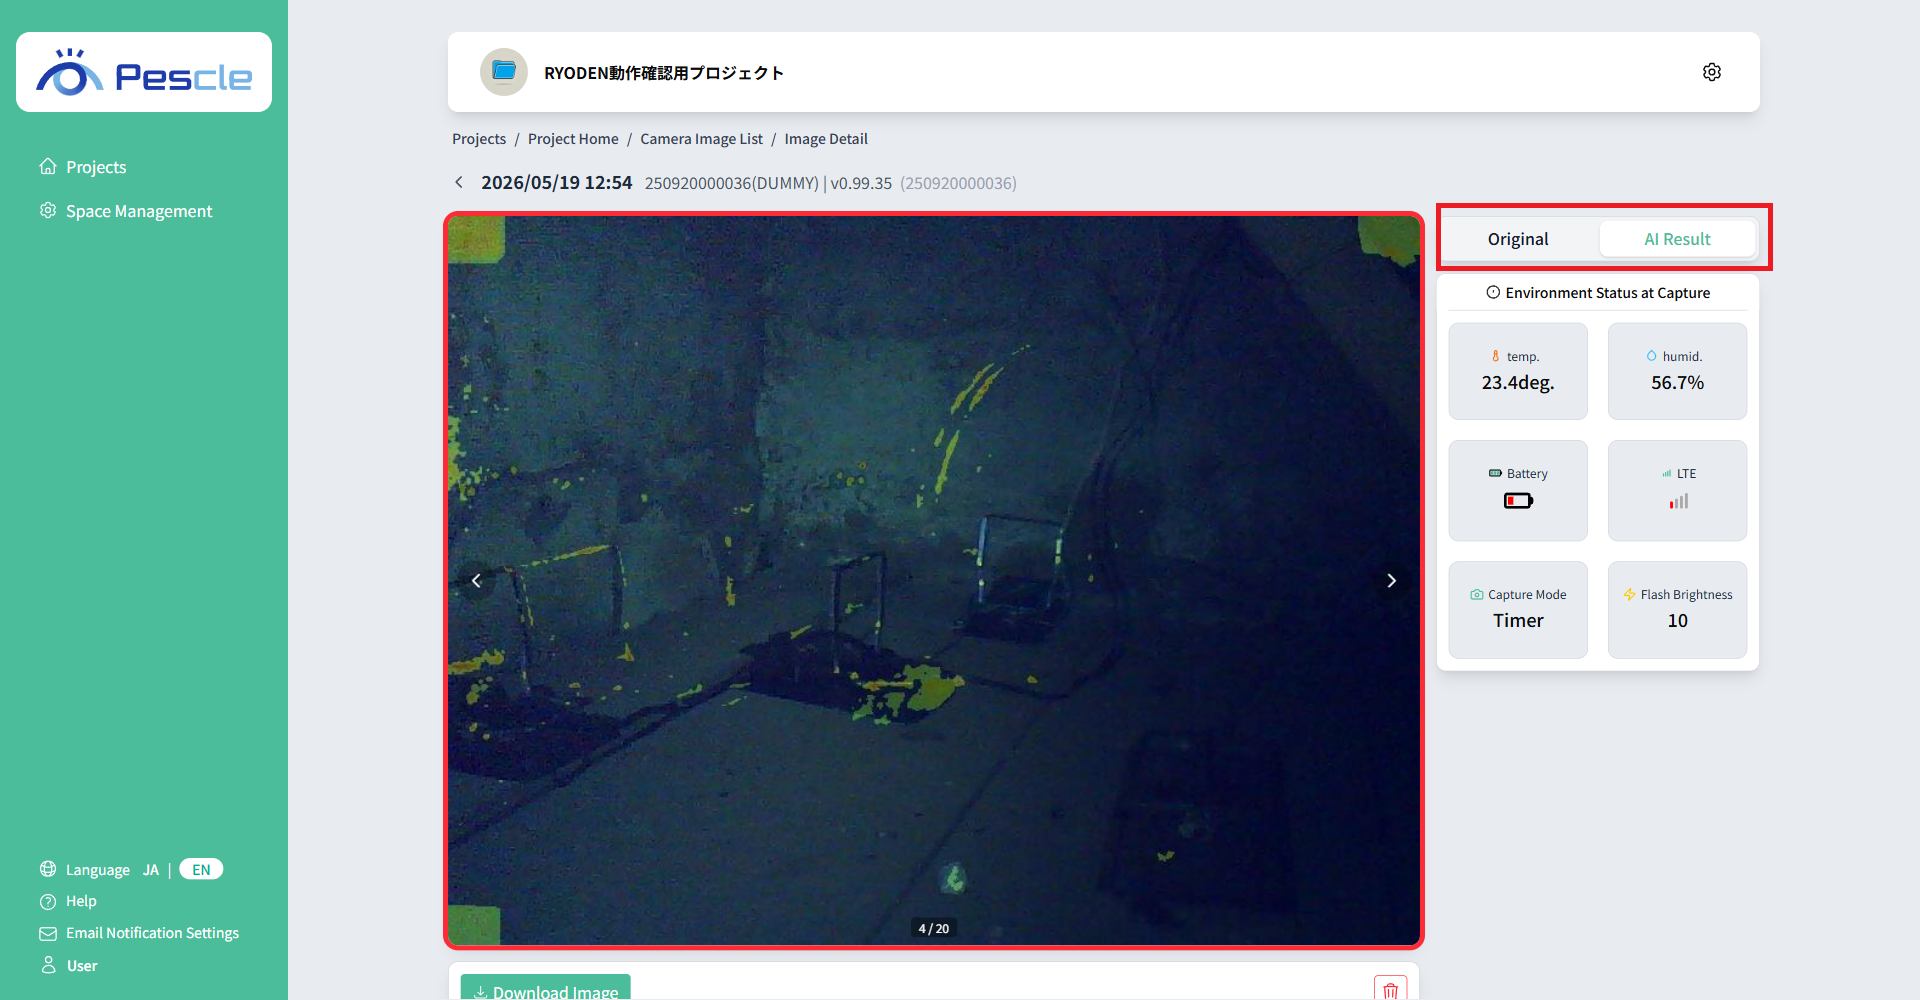
Clicking the “Original” or “AI Result” button at the top of the status box allows you to switch between the pre-diagnosis original image and the post-diagnosis AI result image.
Checking the Environment Status at Capture
“Environment Status at Capture” is displayed on the right side of the image (PC) or below the image (mobile).
You can check the temperature, humidity, battery level, signal strength, capture mode, flash brightness, and AI detection mode at the time of capture.
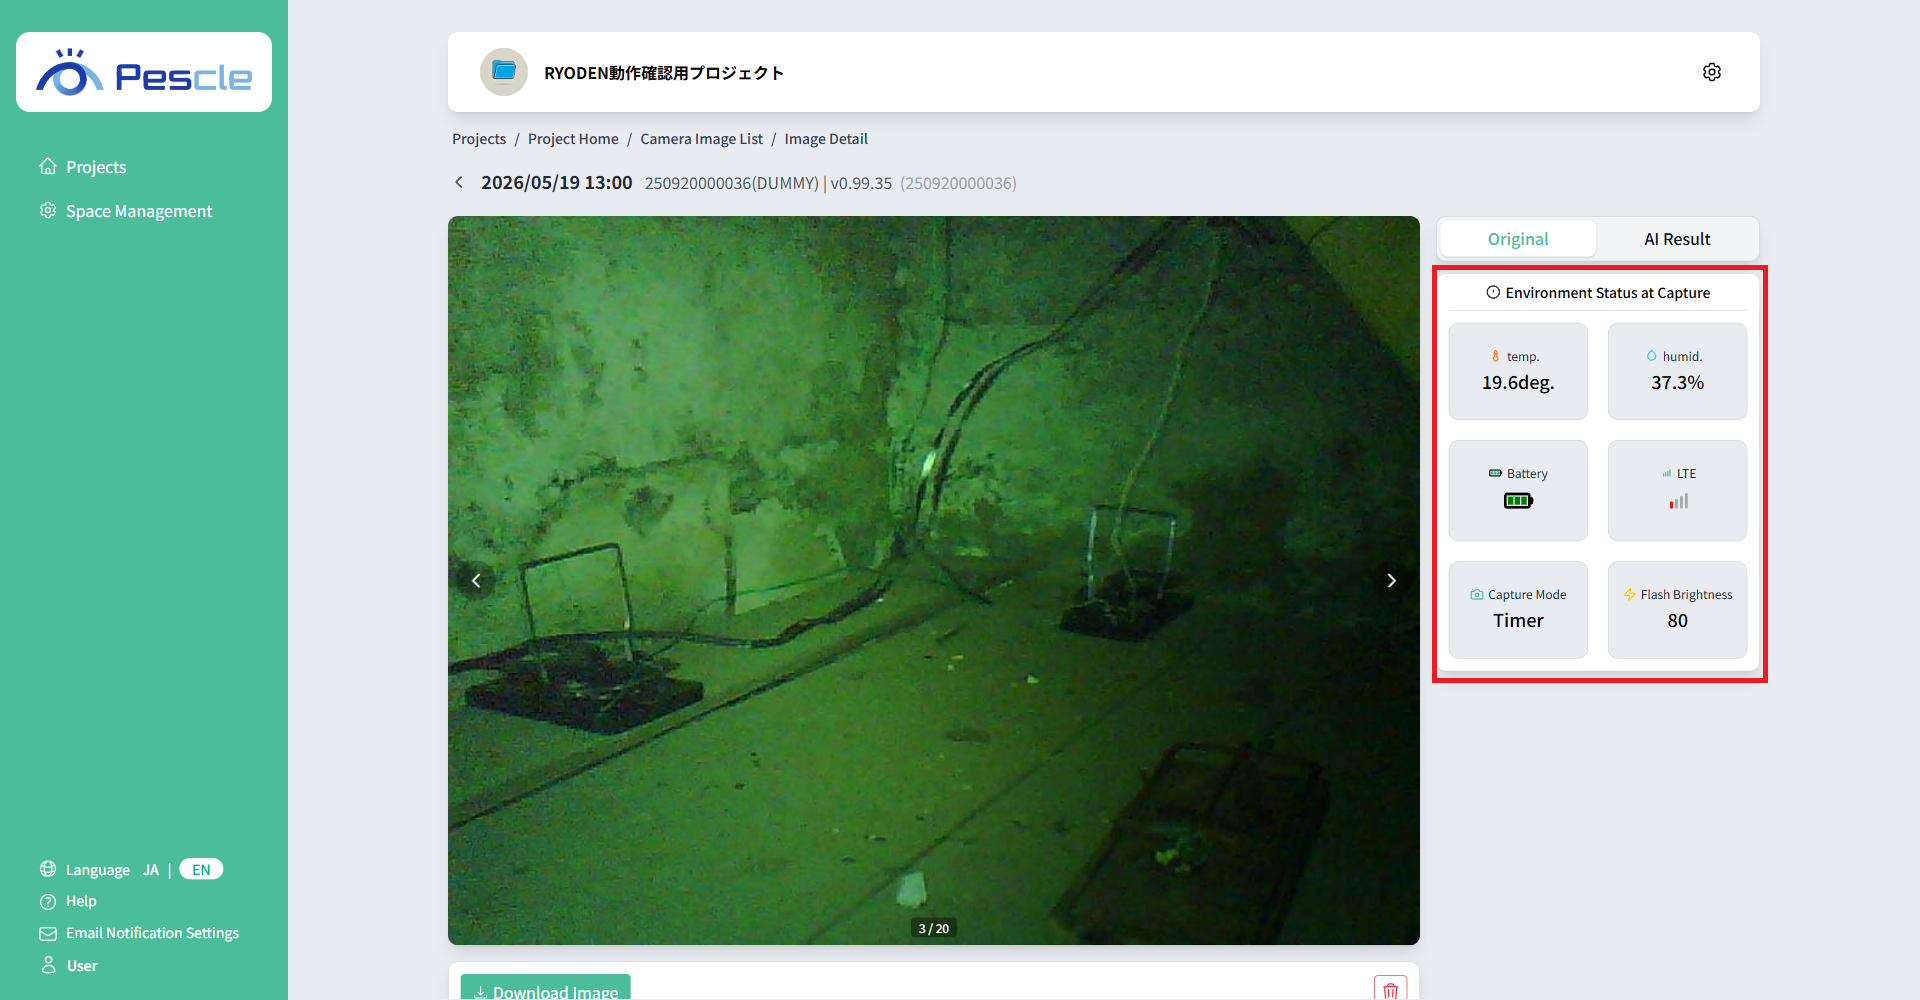
Item |
Description |
|---|---|
Temperature |
Air temperature at the time of capture |
Humidity |
Humidity at the time of capture |
Battery |
Battery level at the time of capture |
Wi-Fi / LTE |
Signal strength at the time of capture |
Capture Mode |
One of: Timer, PIR Sensor, Button, or Reboot |
Flash Brightness |
Flash brightness at the time of capture |
AI Detection Mode |
AI detection mode at the time of capture (Diff Detection or Specific Pest Detection) |
Downloading Images
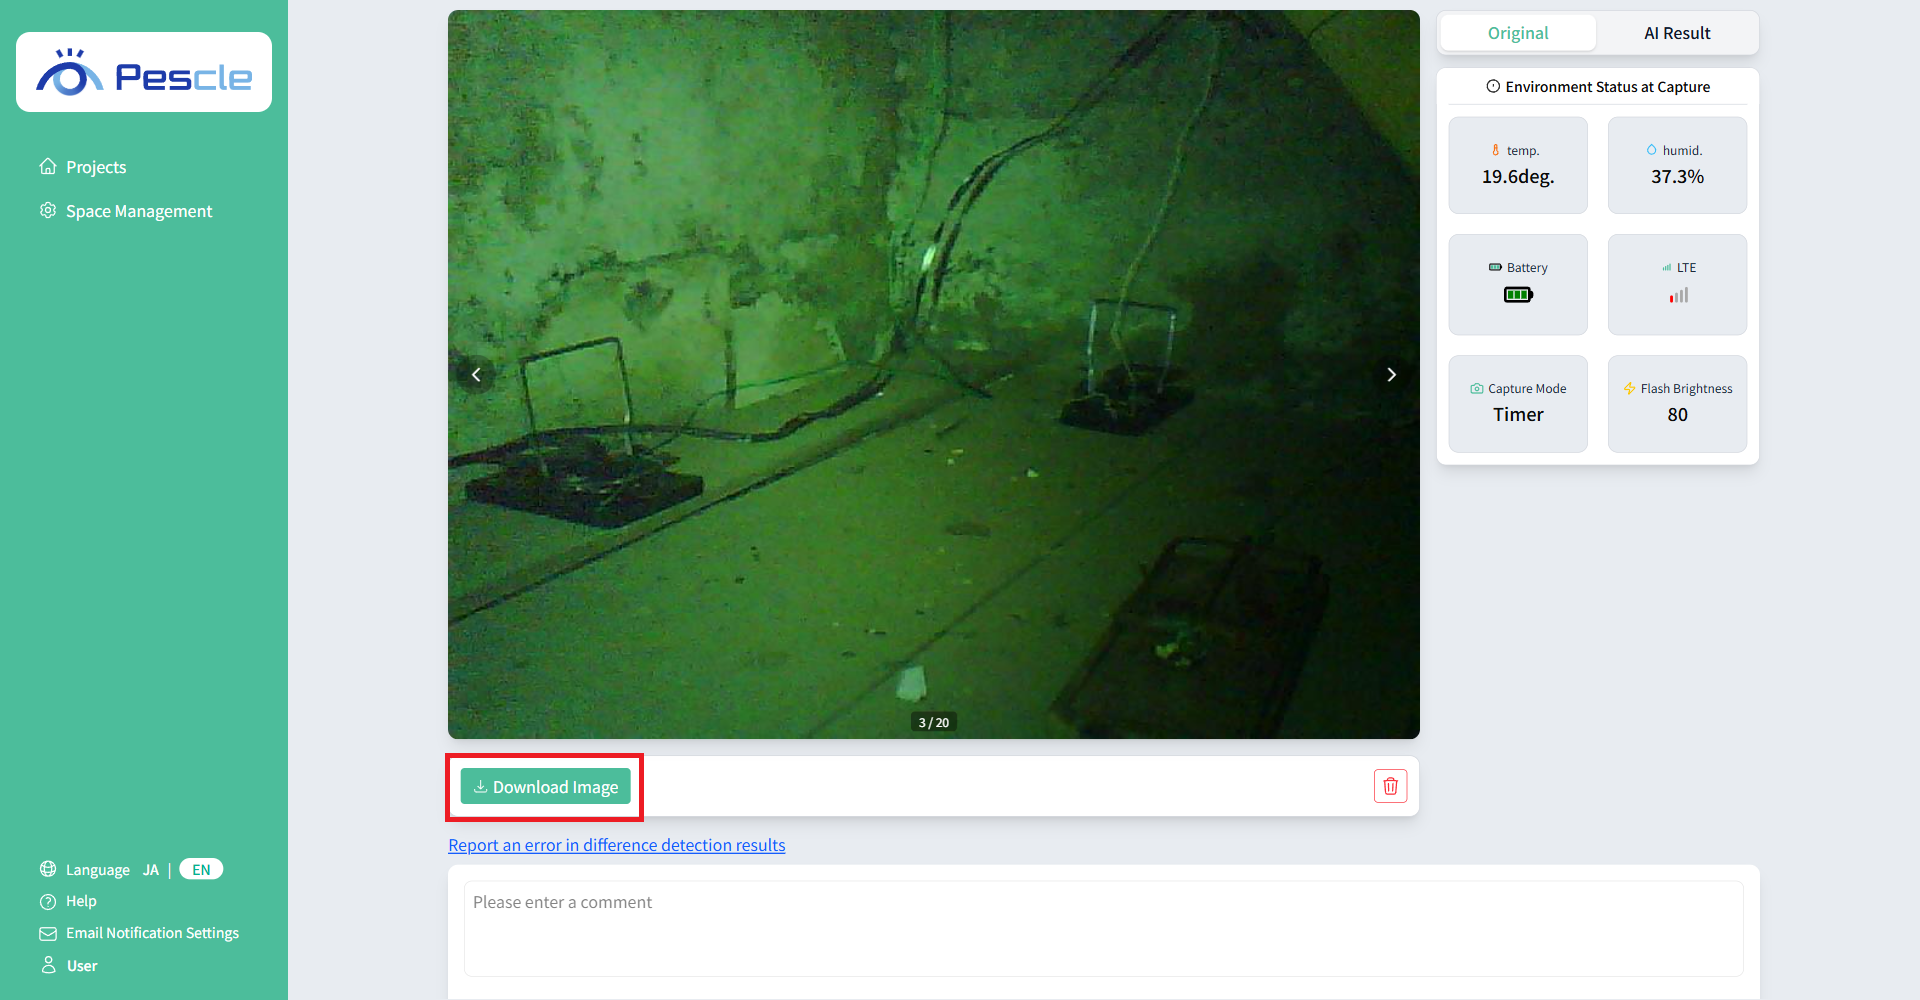
Clicking “Download Image” allows you to download the captured image.
Deleting Images
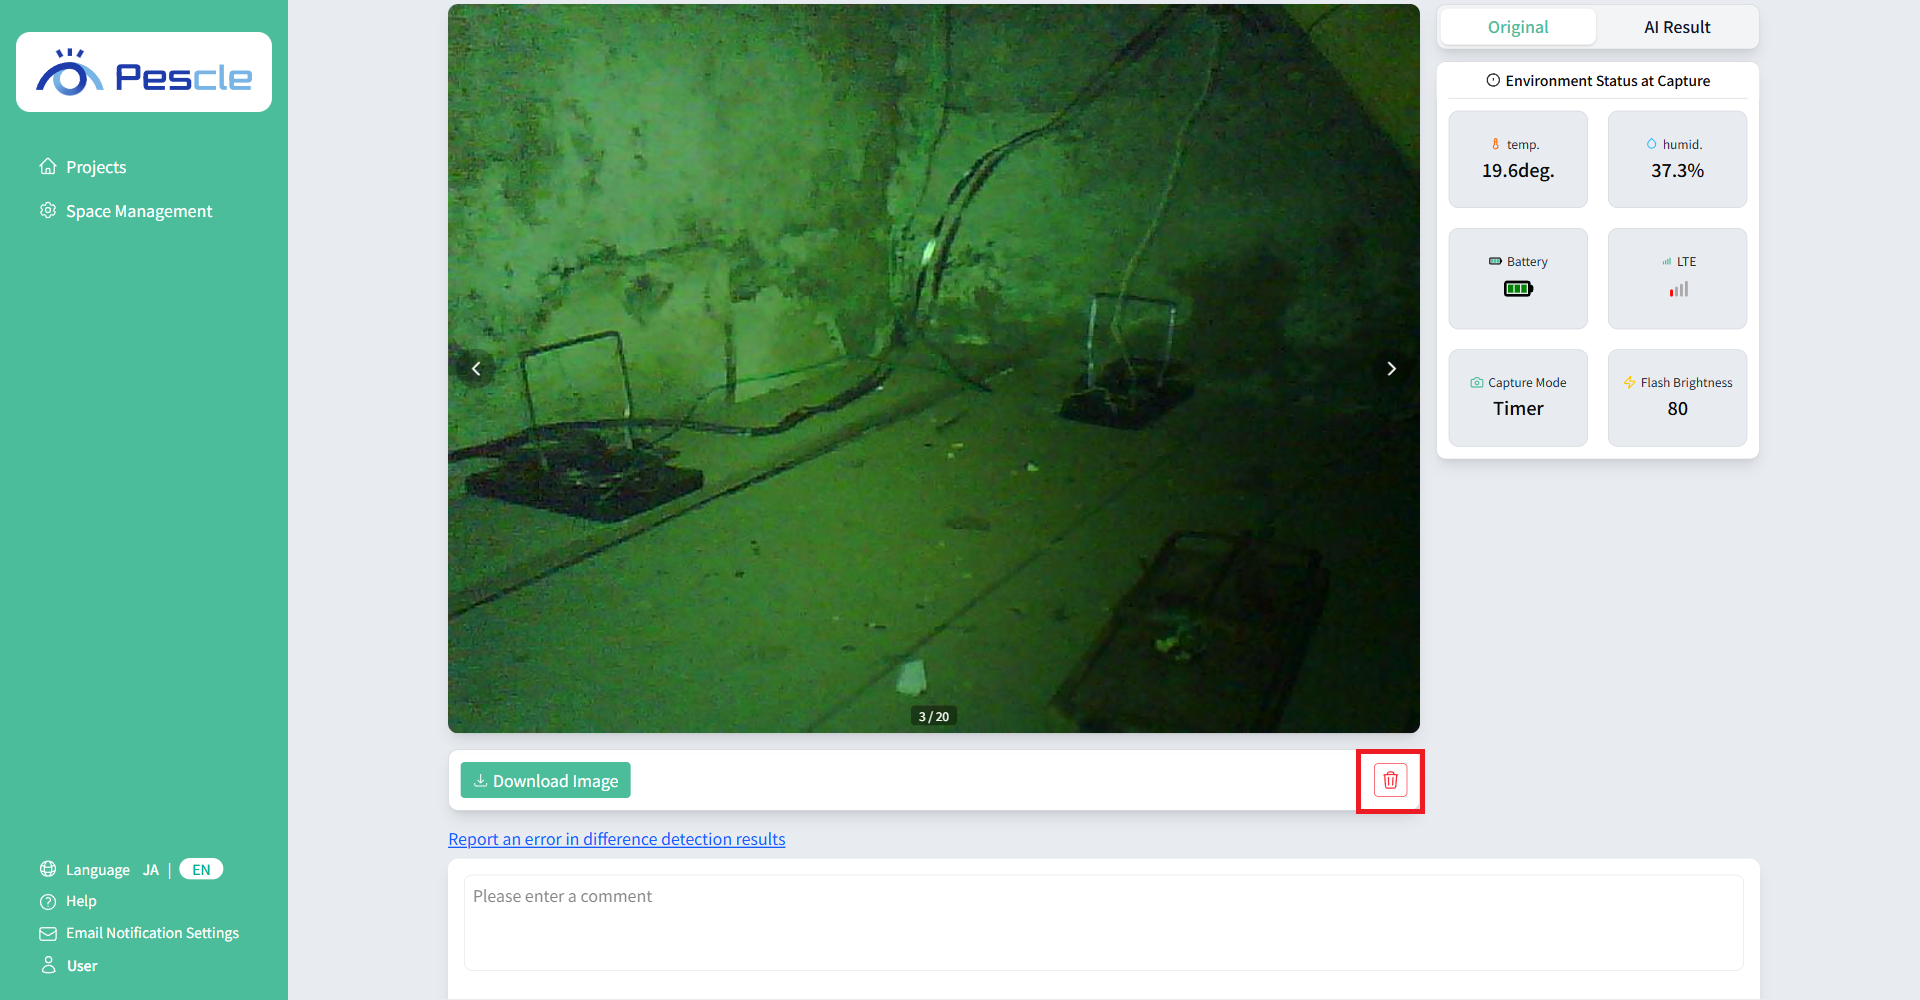
Clicking the trash icon will display a delete confirmation dialog.
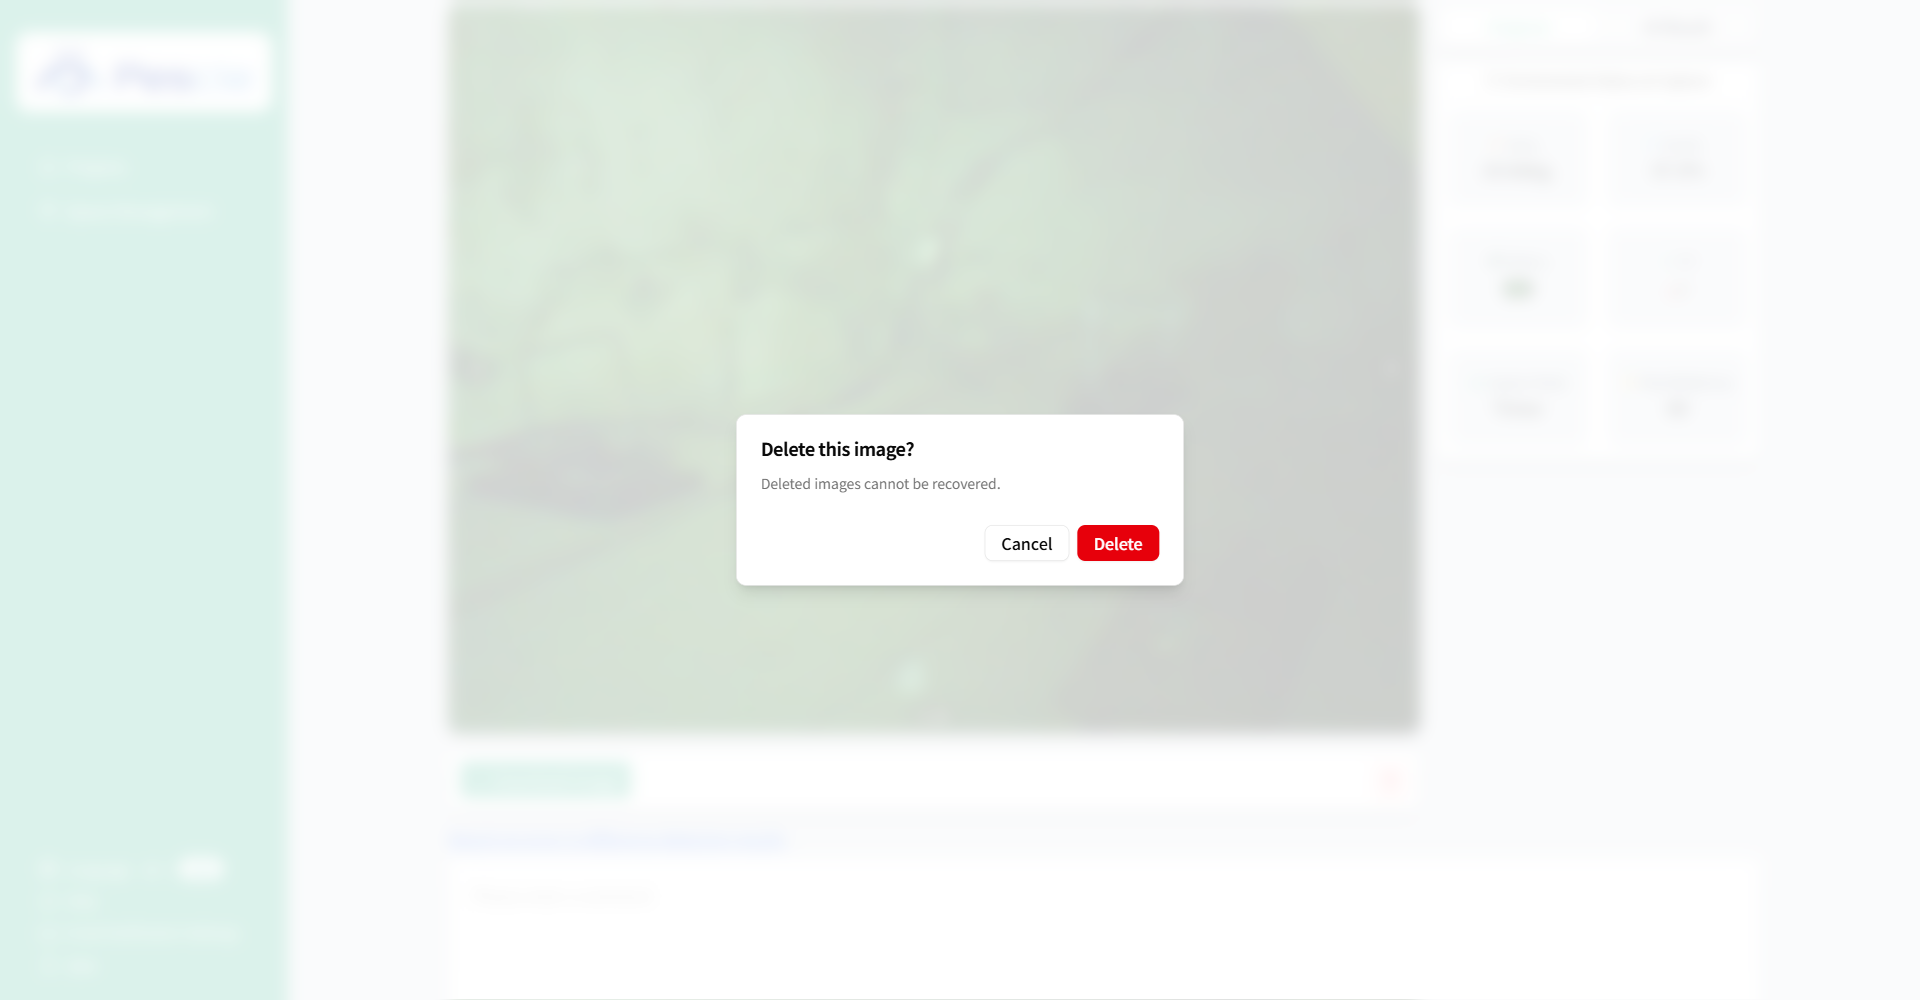
Click the “Delete” button to delete the camera image.
Tip
Deleted images cannot be restored.
After deleting an image, you will be redirected to the Camera Image List page.
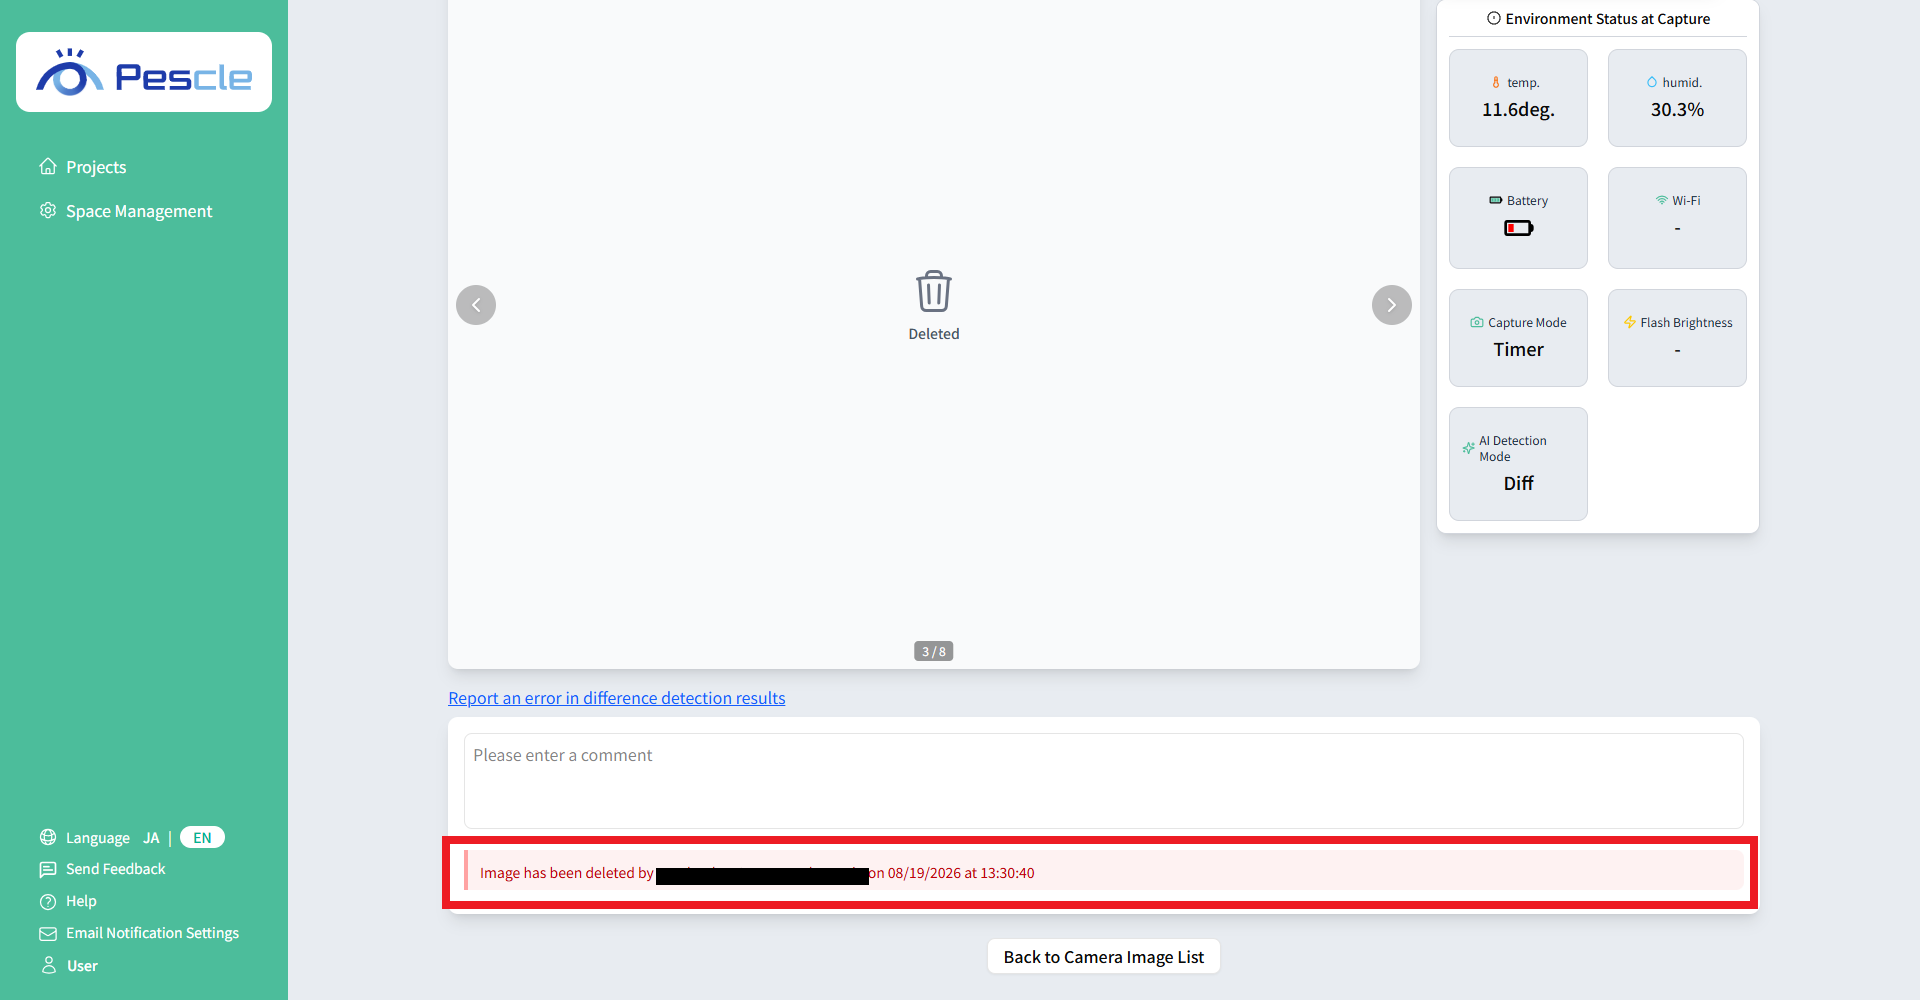
Deleted images are displayed with a trash icon and a “Deleted” label.
Viewing the Deletion Comment
When you open a deleted image, the deletion comment is displayed in the Comment section.
The deletion comment is displayed in red and includes the email address of the person who deleted the image and the date and time of deletion.
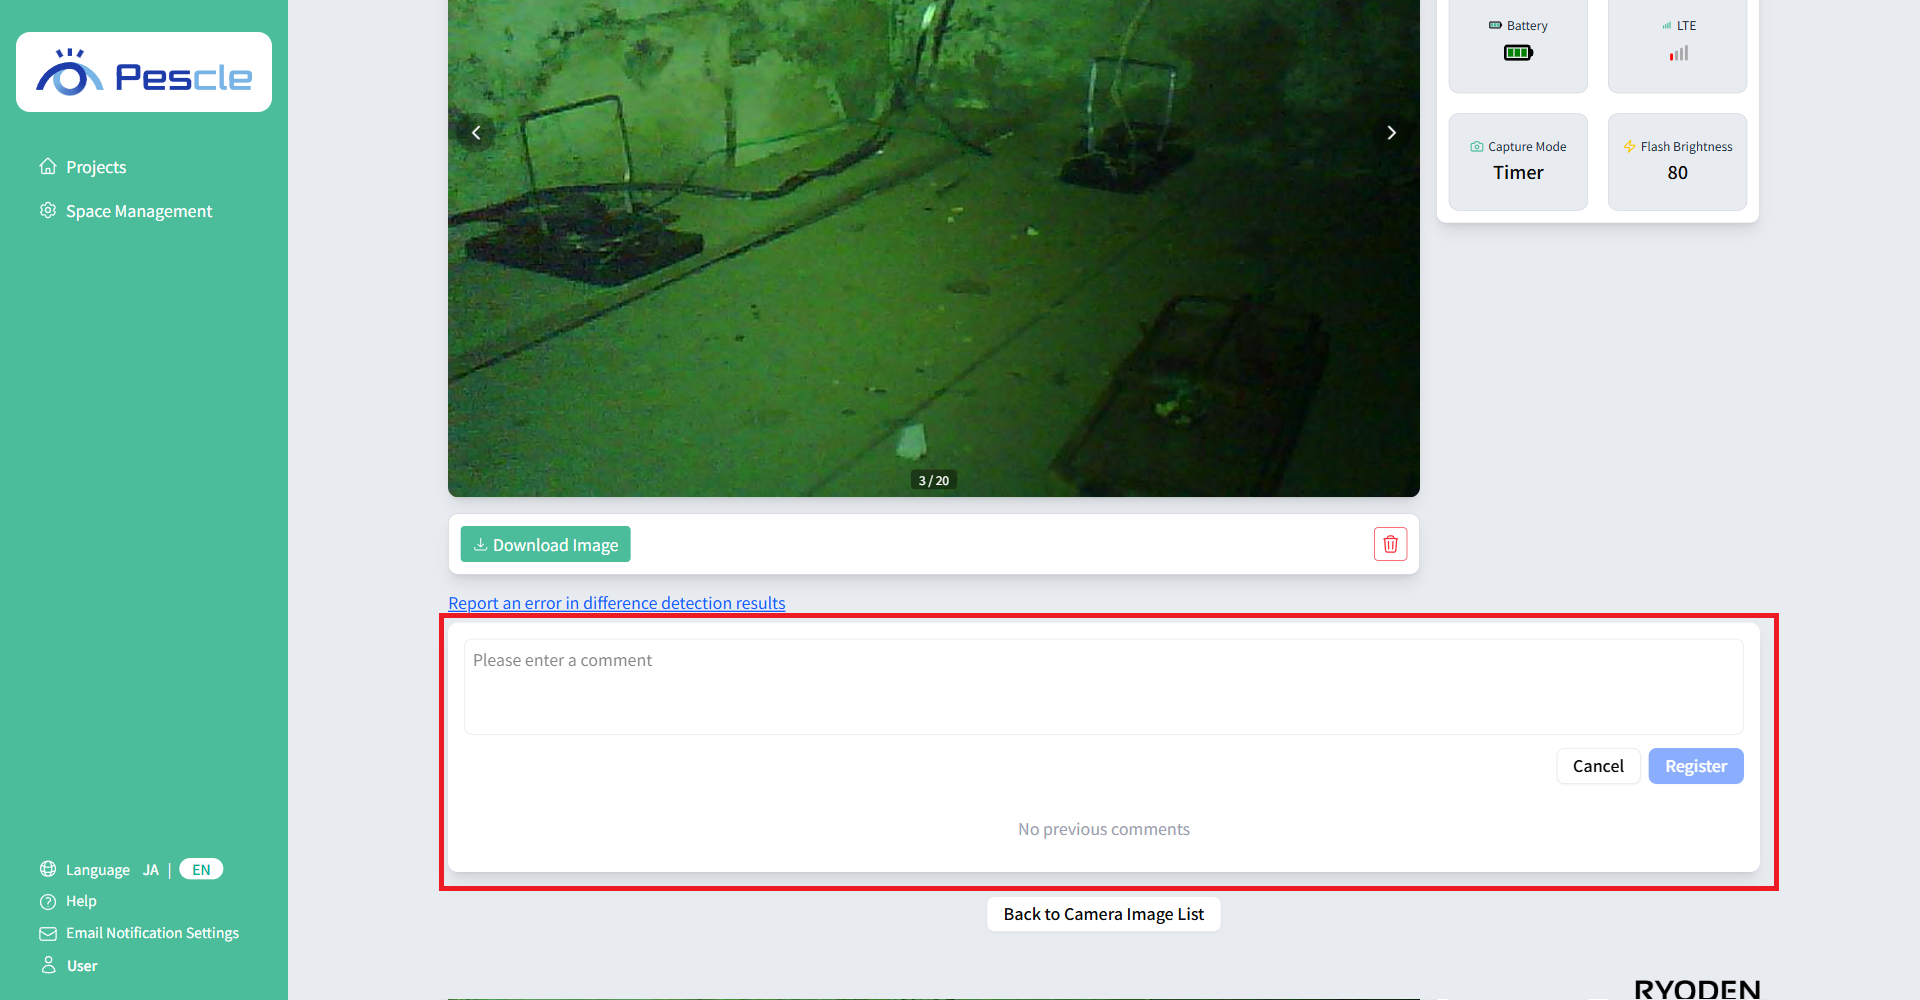
Enabling the Comment Input Field
Clicking the comment input area will make it editable.
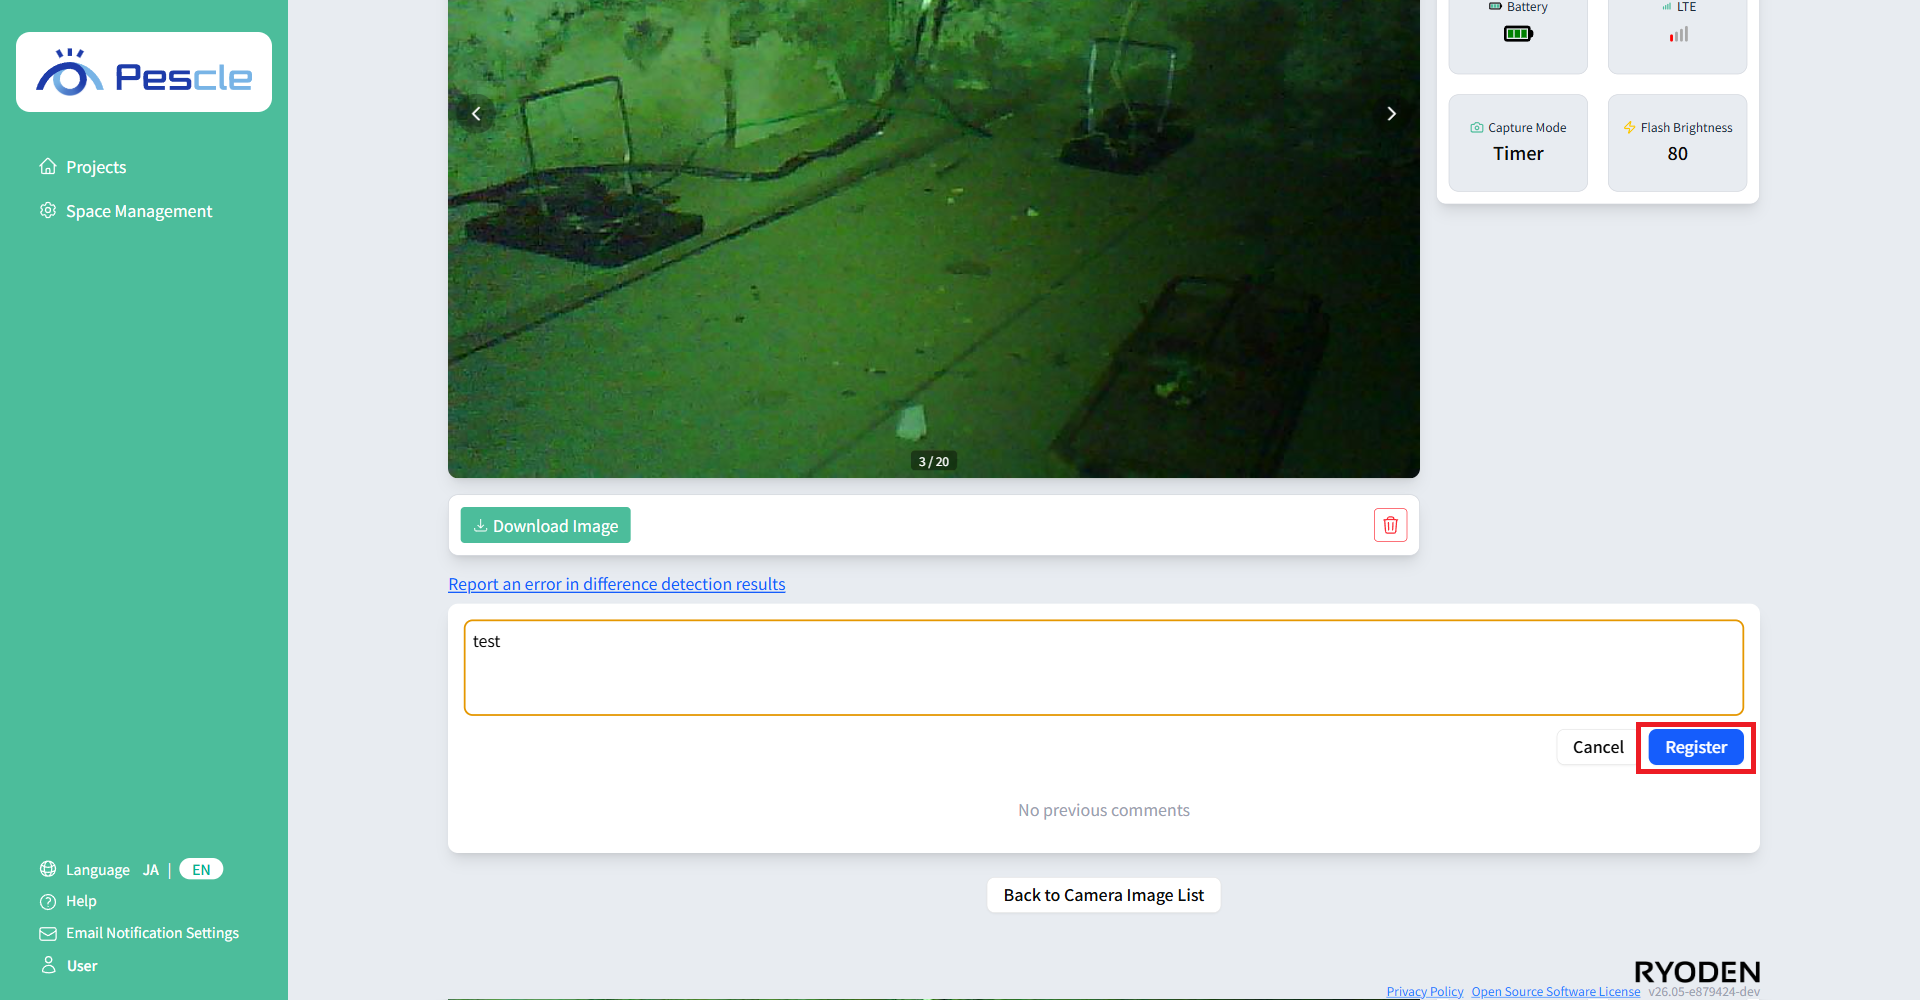
Posting a Comment
Enter a comment and click the “Register” button.
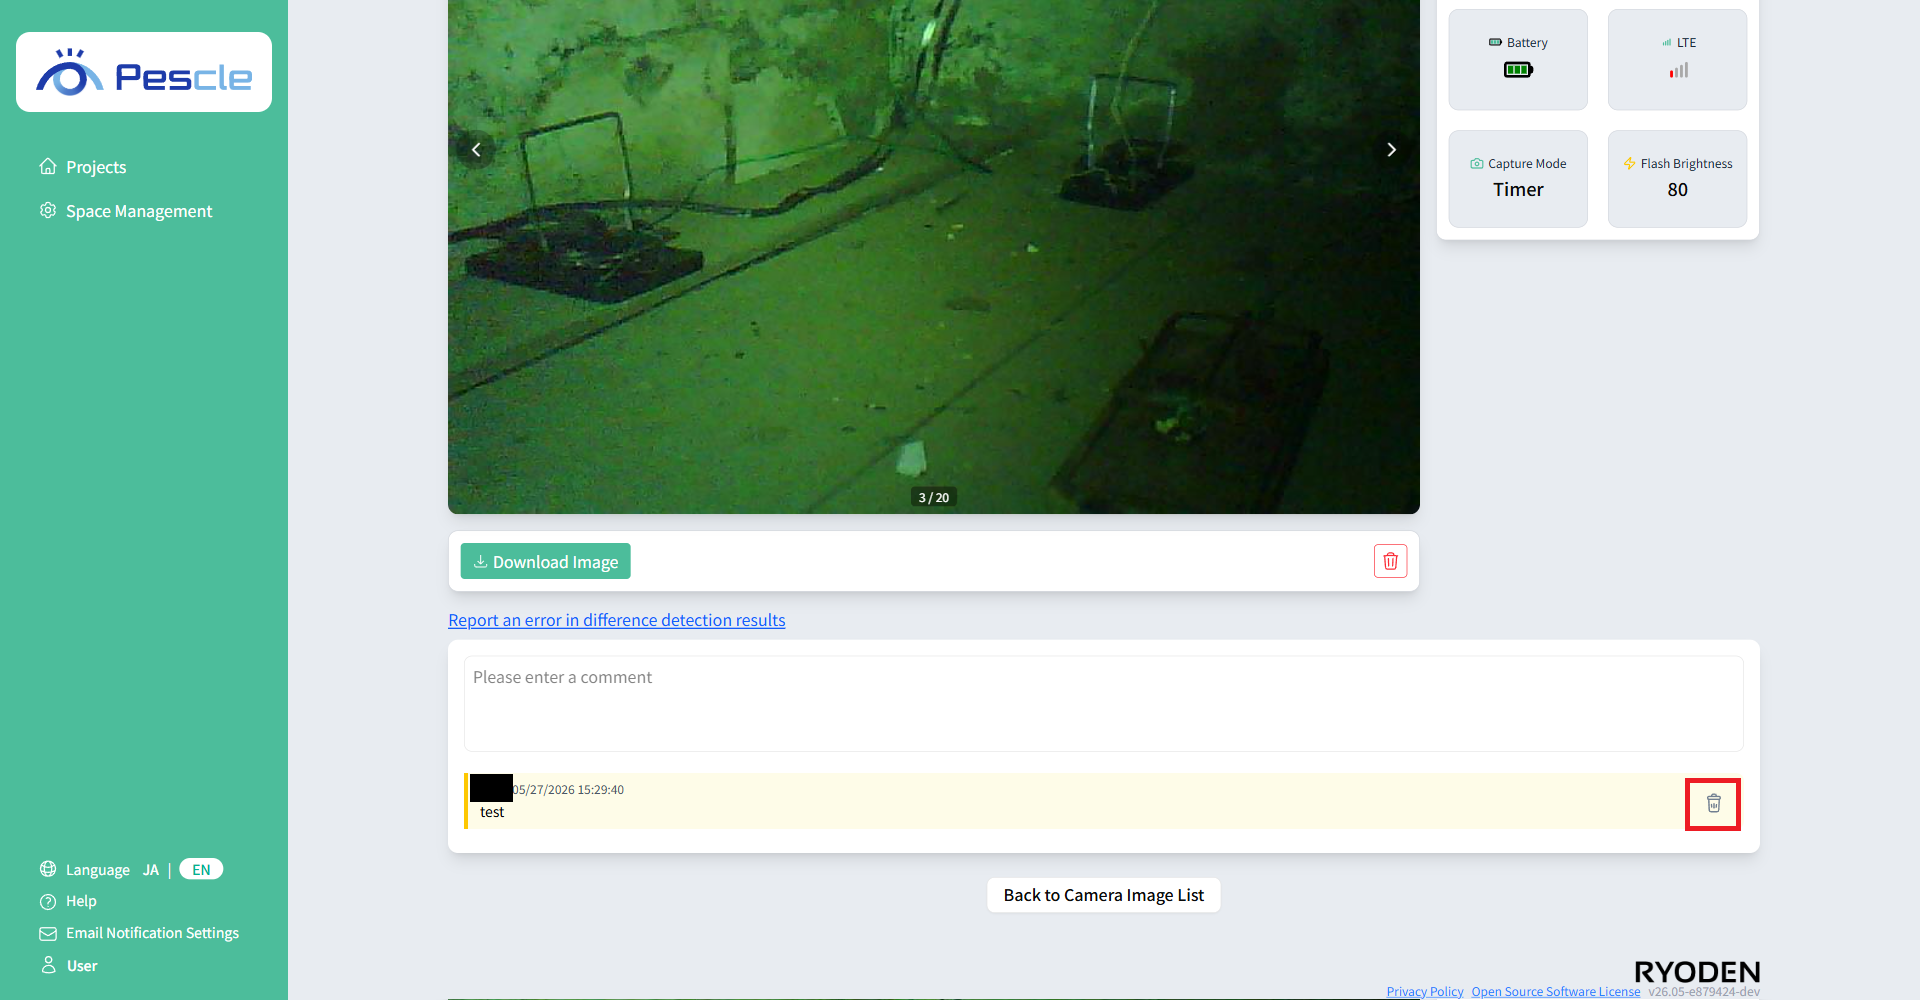
Deleting a Comment
Comments added by the logged-in user can be deleted.
Deletable comments have a trash icon displayed on the right side of the comment list.
Clicking the trash icon will delete the comment.
Reporting an Incorrect Detection Result
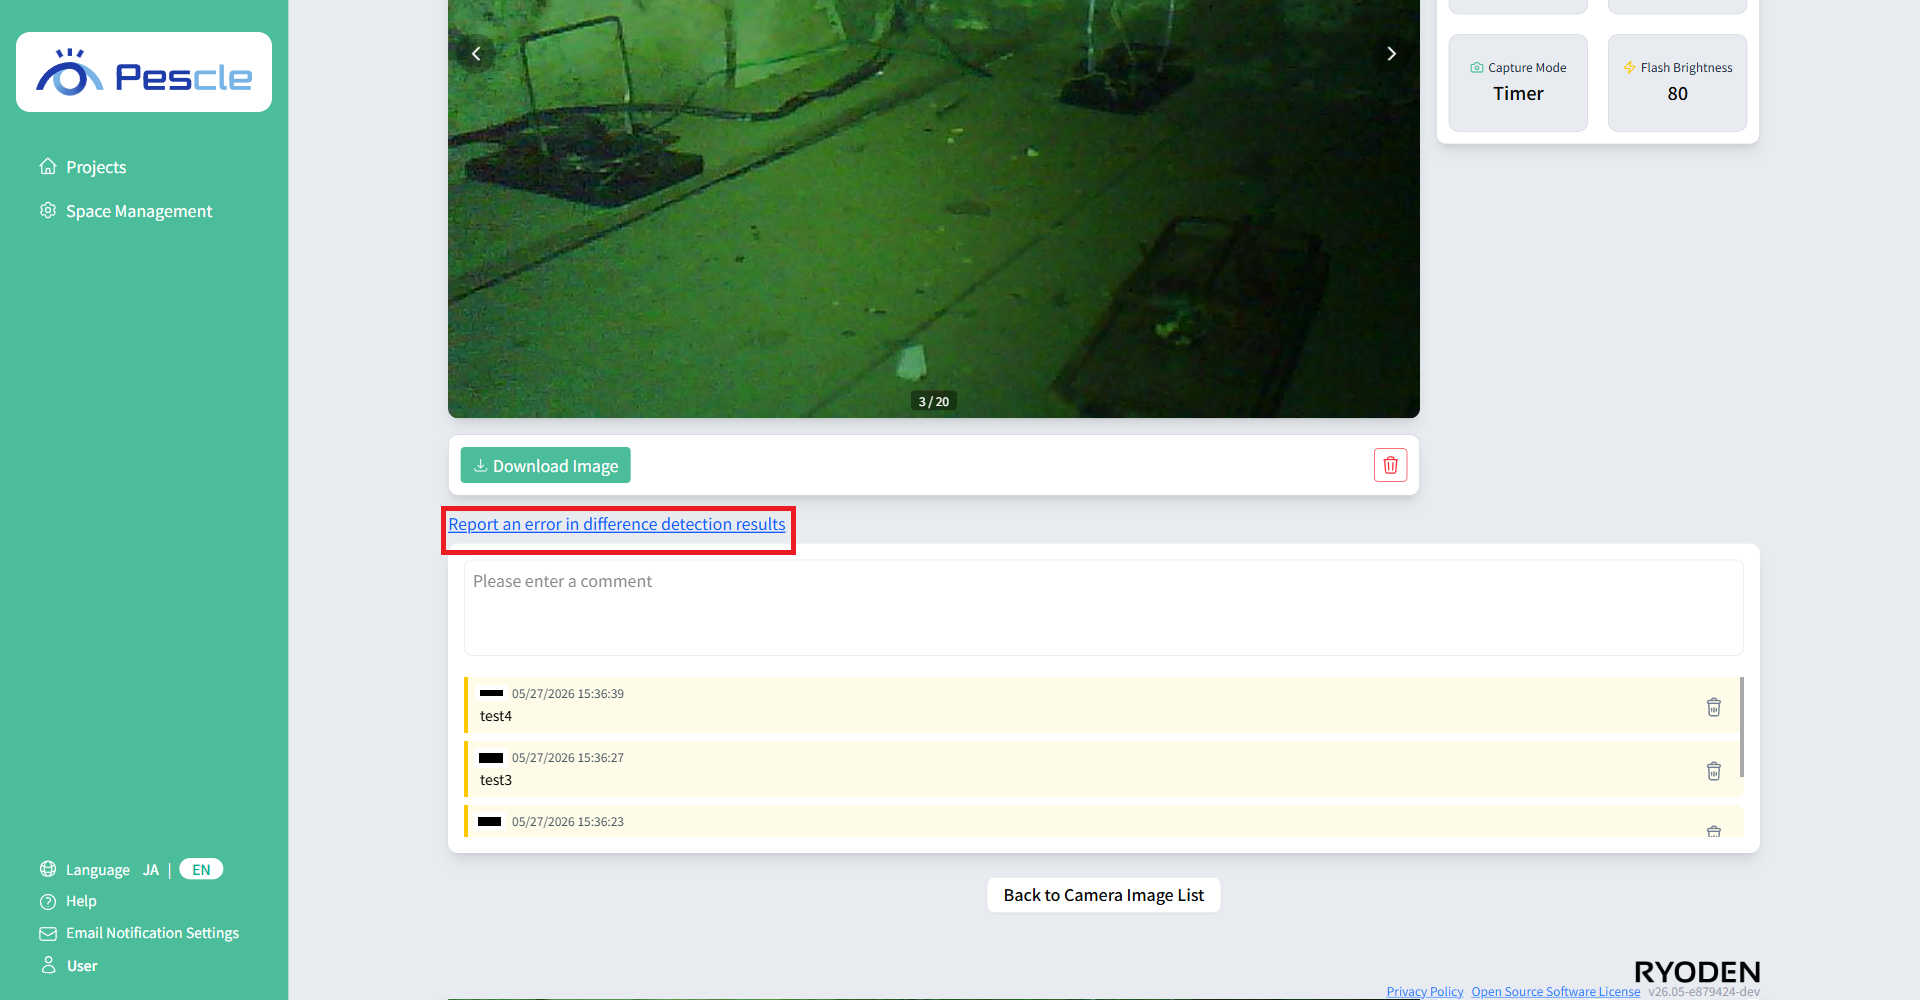
If there is an error in the detection result, click the “Report incorrect detection result” link.
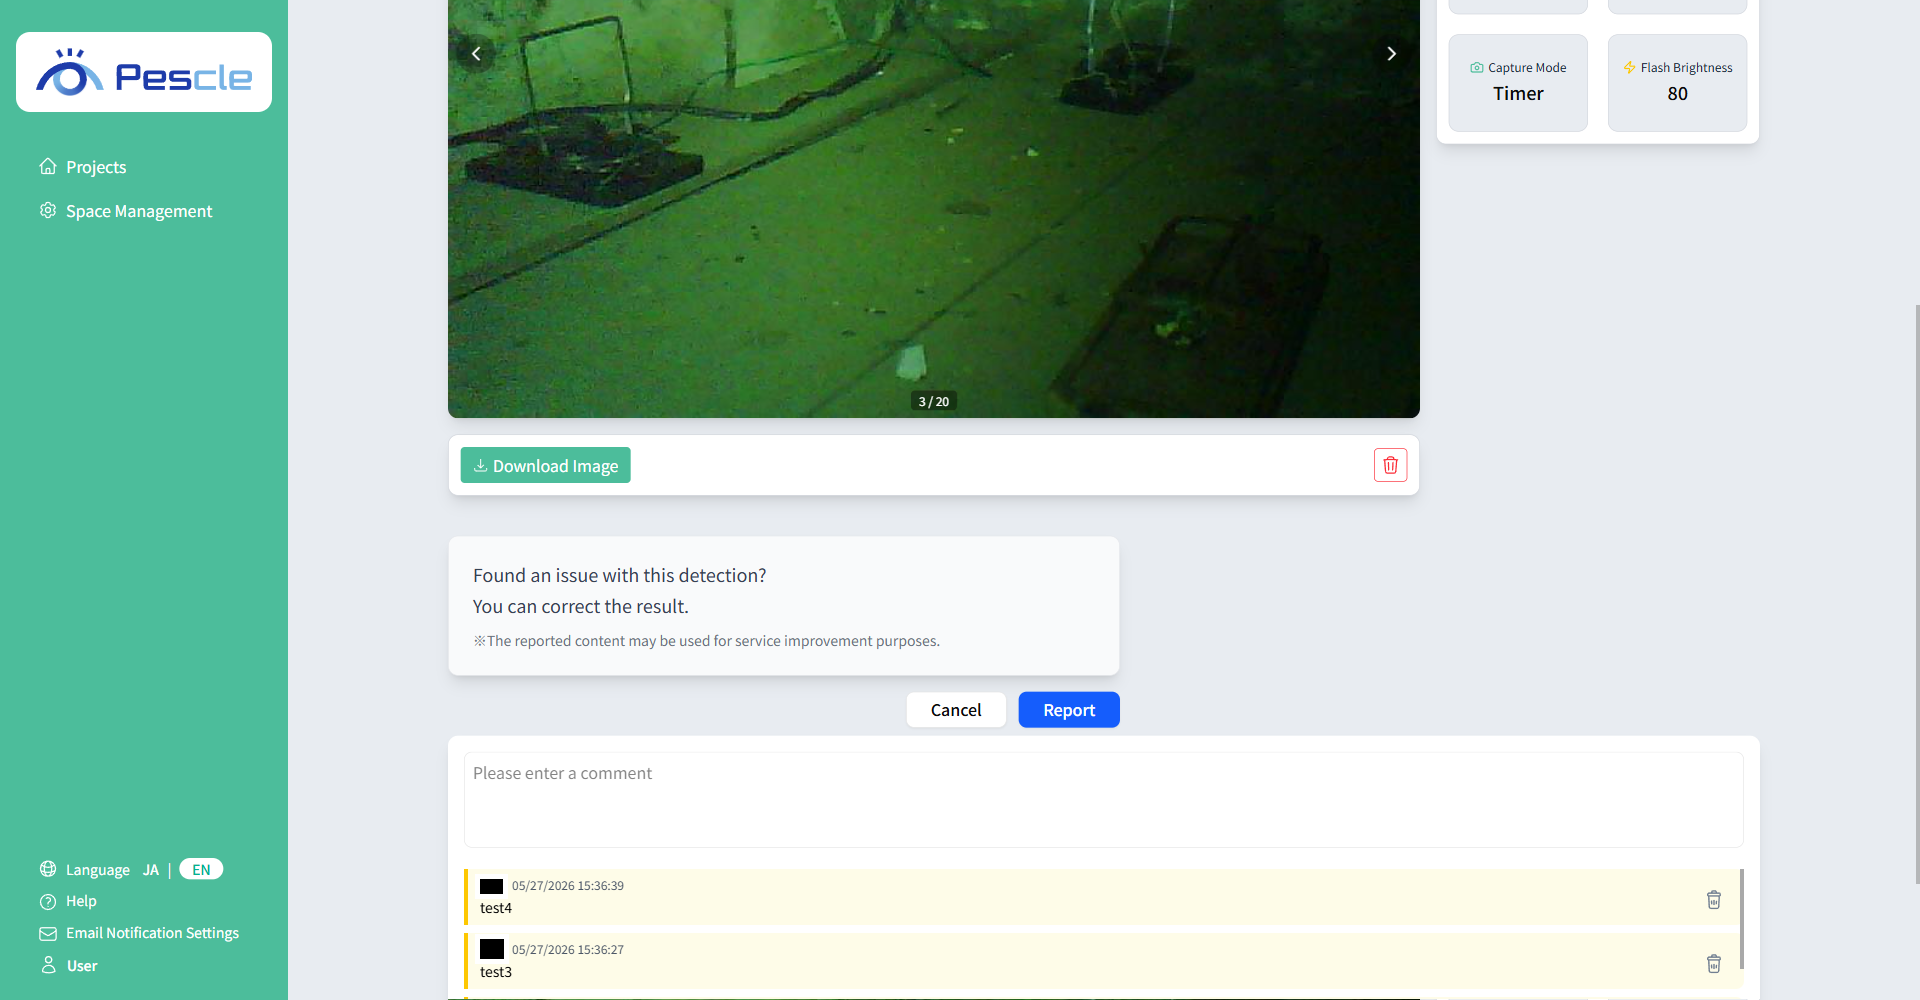
Submitting an Error Report
Click the “Report” button to report the error and correct the detection result.
If the detection result is “detected” and alert email reception is enabled, an email will be sent.

Viewing the Comment List
Added comments are displayed in the list in order from the most recent.